Gibson Les Paul Fretwork (Part 1)
Introduction – I’ve been doing guitar repair since 2008 and in that time I’ve done many different kinds of repair work. A lot of the work that I do these days has become routine, while other times it’s more involved. Over the past 14 years or so it’s been my opinion that fretwork is among the most challenging tasks that I encounter. There is a steep learning curve, there a lot of tools that you’ll need to do it properly, and much of the knowledge can really only be gained through trial and error. Additionally, a lot of the information found online about fretwork is partial, incomplete, misleading, or downright incorrect.
The way I learned to do fretwork was threefold. I did extensive online research, combing through online forums and reading every article that I could on the subject. I was fortunate to be able to take notes and watch a master luthier named Tom Dobrovich work, and see first-hand the process that he used. This is something that I’m very grateful for. Lastly, I did practical work on my own personal guitars and wasn’t afraid to make mistakes (of which I made many) in order to learn and improve. In this blog I’m going to be taking you through the entire process that I used to level, crown, dress, and polish the frets on my 2005 Gibson Les Paul Standard.
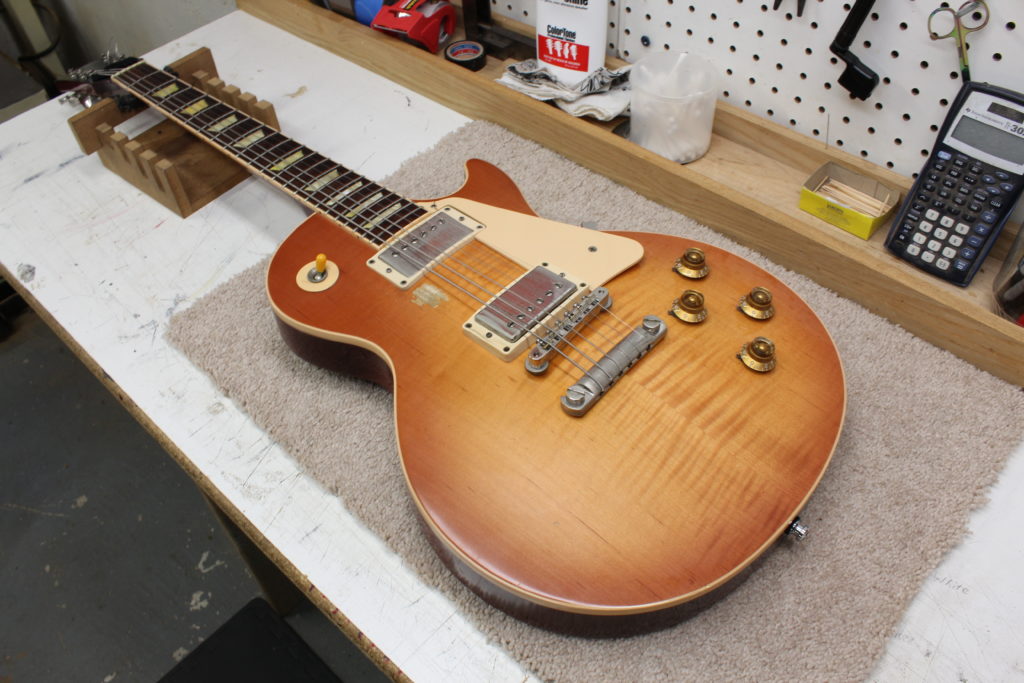
Overview – As you can see from the picture above, this is my 2005 Gibson Les Paul Standard. I bought it from the aforementioned Tom Dobrovich and it’s been my number one guitar since 2017. I play it every day and enjoy it very much. I’ve also made a number of modifications and repairs to it, including replacing the tuners, changing the potentiometers and capacitors, adding strap locks, and replacing hardware among other things. Since I play this guitar exclusively, over time it’s developed fret buzz and requires a fret level.
There are a couple of reasons why guitars develop fret buzz in general. Firstly, the frets get worn down from coming in contact with the strings over time. This contact can create grooves in the frets when playing chords or make scratches across the fret when bending the strings. Over time this can cause the guitar to play less than ideally and start buzzing. Secondly, changes in temperature and humidity over time can impact whether or not the frets are level. The expansion and contraction of the fretboard and the neck due to these changes can cause issues to occur. It’s always best to try and keep your guitars in stable environments, but this is not always possible.
Additionally, it should be noted that stainless steel frets are more durable and will resist wear more than the common nickel-silver composite frets that are seen on the vast majority of guitars. I would also advice caution to those using strings wound with cobalt or materials that are harder than the frets themselves. This will exacerbate the wearing down of your frets.
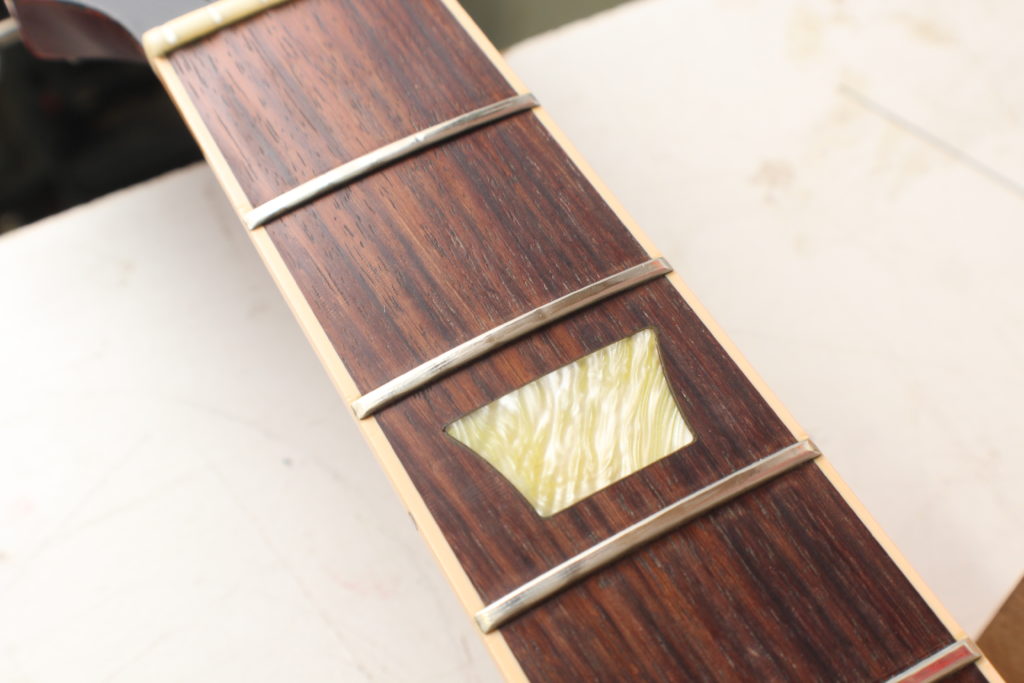
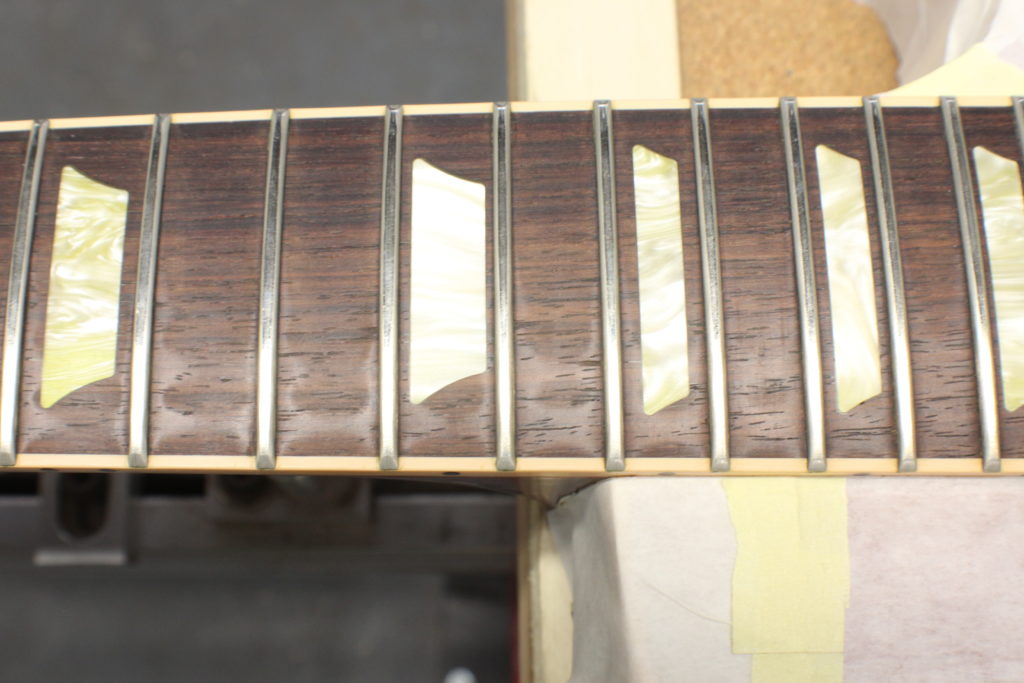
In the first picture below, you can see the worn frets closest to the nut (the most common place to see fretwear). In the second picture below, you can see the discoloration in the fretboard due to more playing emphasis on the treble strings versus the bass strings in the upper register. It stands to reason that because more focus is paid to the treble strings in the upper register as opposed to the bass strings, there is an uneven wear pattern across the length and width of the fretboard, and that this is partially responsible for some of the fret buzzing.
Plan of action – Now that we a reasonable understanding of why the strings are buzzing when playing certain notes on the fretboard, the next thing to do is to take action. The first thing that I like to do in preparation for fretwork is to clean the guitar completely and change the strings to a new set. This is important for general playability reasons but also in making sure that the problems aren’t due to dead strings. It also gives a baseline reference which will be useful moving forward. If this were a customer’s guitar I would check the intonation, the nut, etc… but because I’m exceedingly familiar with this guitar having owned it since 2017, I move onto the next step knowing that there are no issues anywhere besides frets not being level.
Initial Setup – In this next part I’ll be making further preparations for levelling the frets. In order to do that I’ll tune the guitar to E standard and use a straight edge to make sure that the neck is straight. The straight edge that I use is the Starrett 380-24 Steel Straight Edge. What I prefer about this straight edge is that it has a thickness of 11/64″ which makes it very solid and accurate when taking readings of the neck. With the guitar in the playing position, I adjust the truss rod accordingly to get the neck as straight as possible.
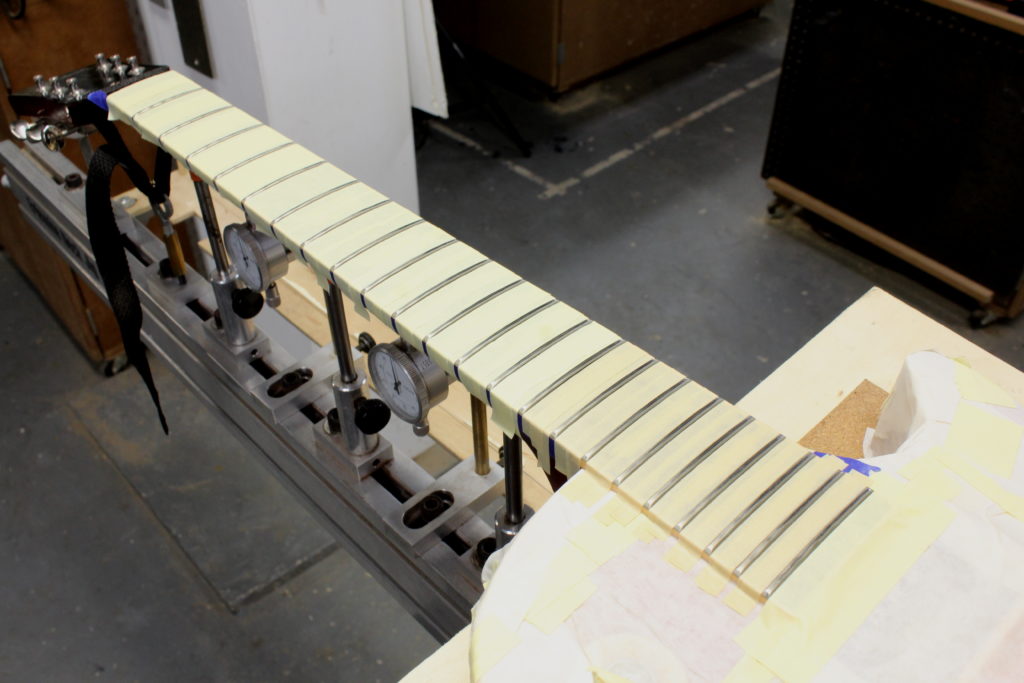
Neck Jig Setup – Now that the guitar is in tune and the neck is straight, I will place the guitar on the Erlewine Neck Jig, which is the device that I use to assist me in levelling the frets. I place the guitar on a piece of plywood with a thick piece of MDF attached to it. This allows me to compensate for the neck angle of the Les Paul without having to adjust the levelling feet on the neck jig. After that, it’s a matter of strapping the guitar into the neck jig. I use thick neoprene rubber to protect the guitars finish. Once the guitar is strapped in, I tape off the pickups and the finish to prevent damage from occurring. I also want to reduce the chance of debris from coming in contact with the guitar. I use low tact tape as my initial layer and masking tape to prevent the low tack tape from lifting up. Here are a few pictures:
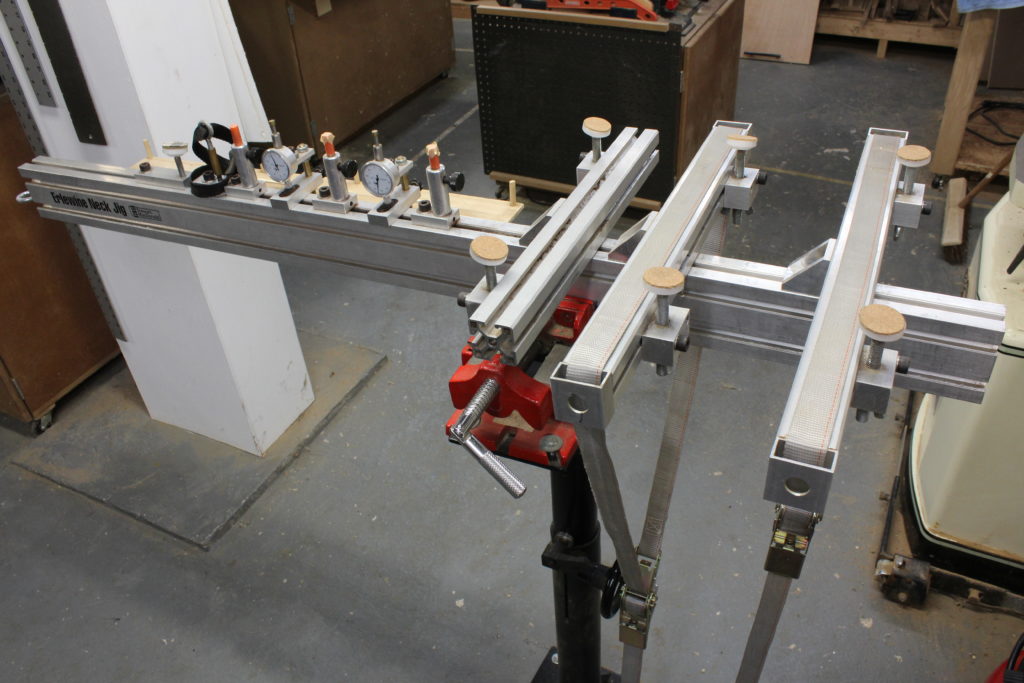
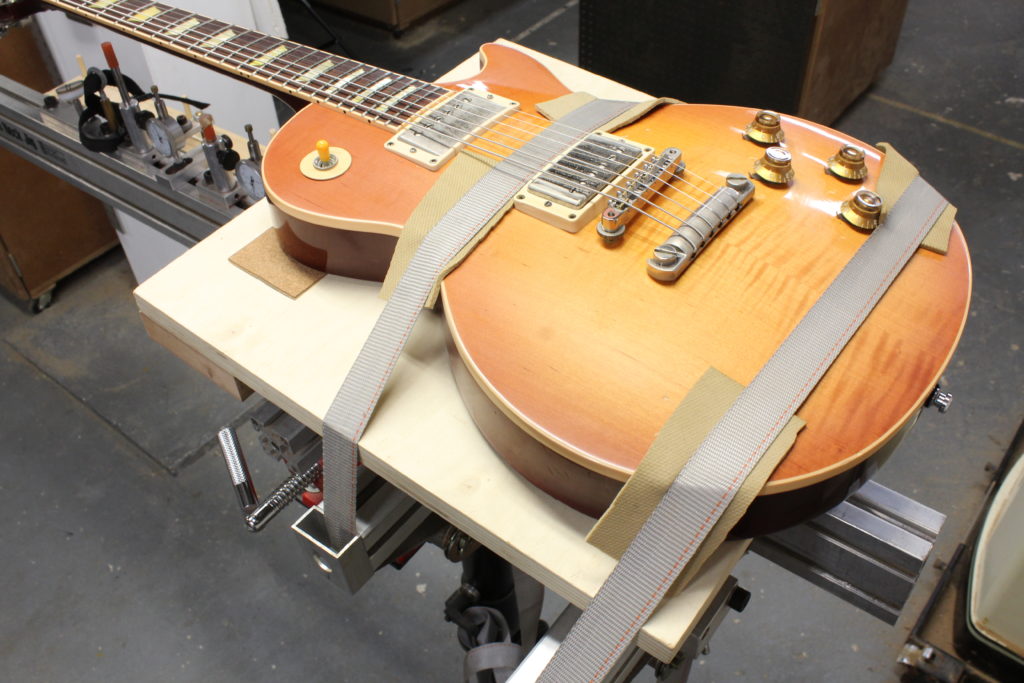
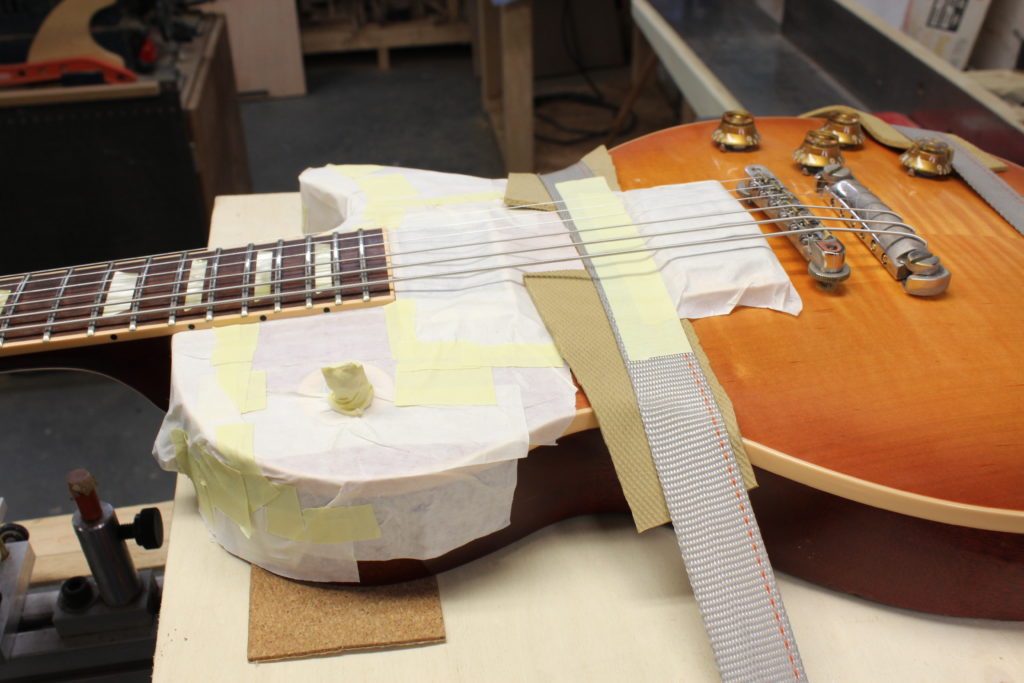
Now that the guitar is strapped in, secure, and aligned, I tilt the guitar 90 degrees to the playing position. It is from here that I make final adjustments to the neck. I tune the guitar to pitch once again and make sure that the neck is as straight as possible.
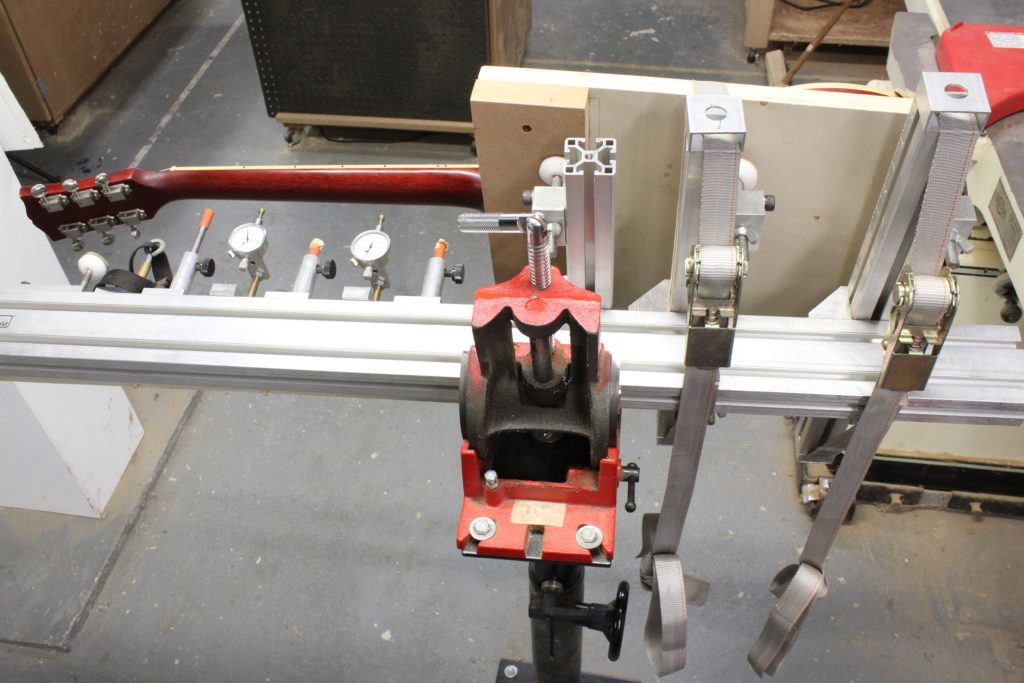
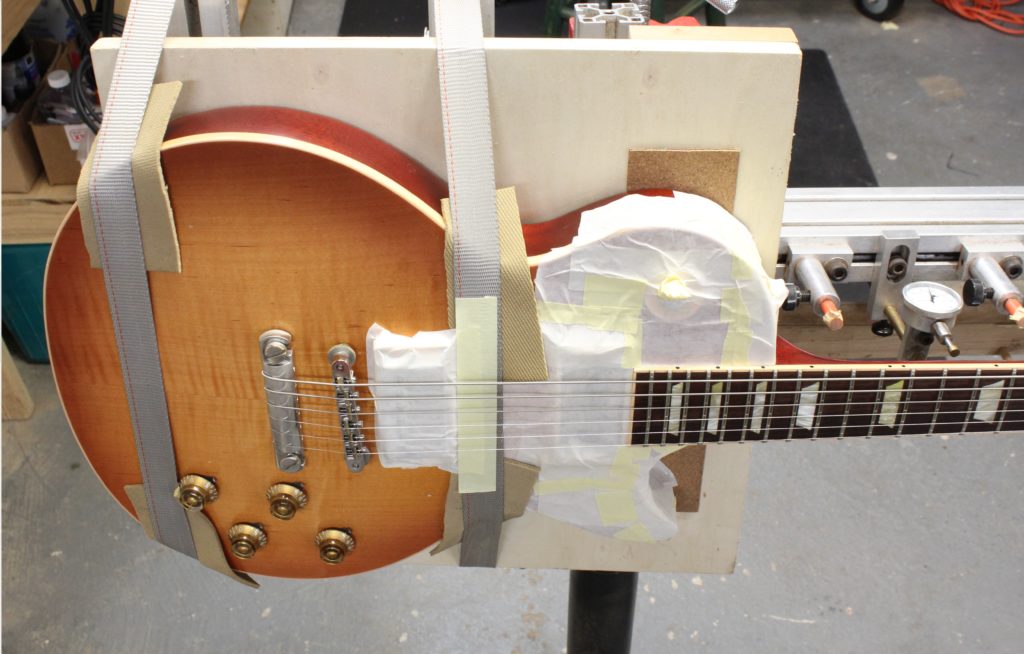
From here I bring the dial indicators into contact with the straightened neck, and set the dials to zero. When I bring the guitar back to the original position, you’ll see the amount of deflection caused by gravity on the guitar neck. I measure 0.005″ and 0.0035″ respectively. This may not seem like a lot, but when you consider the fact that the frets are roughly 0.039″ high when they were initially installed, these differences add up quickly and can make the difference between a guitar playing clearly and a guitar that buzzes. Additionally, when the strings are removed, you can see that the neck will backbow from the release of string tension and the pull of the truss rod.
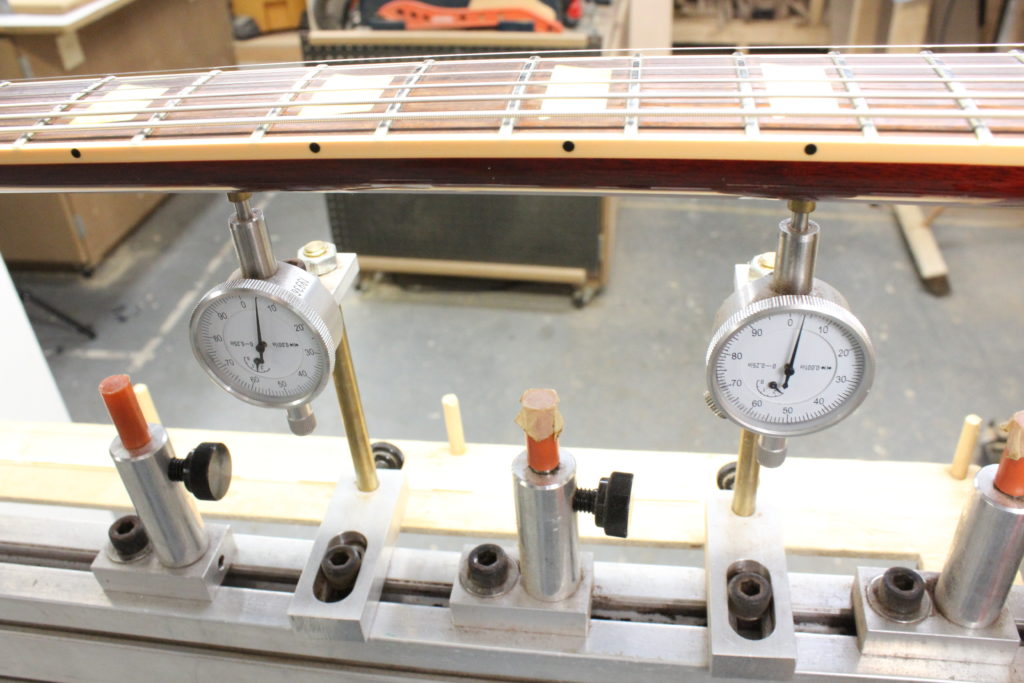
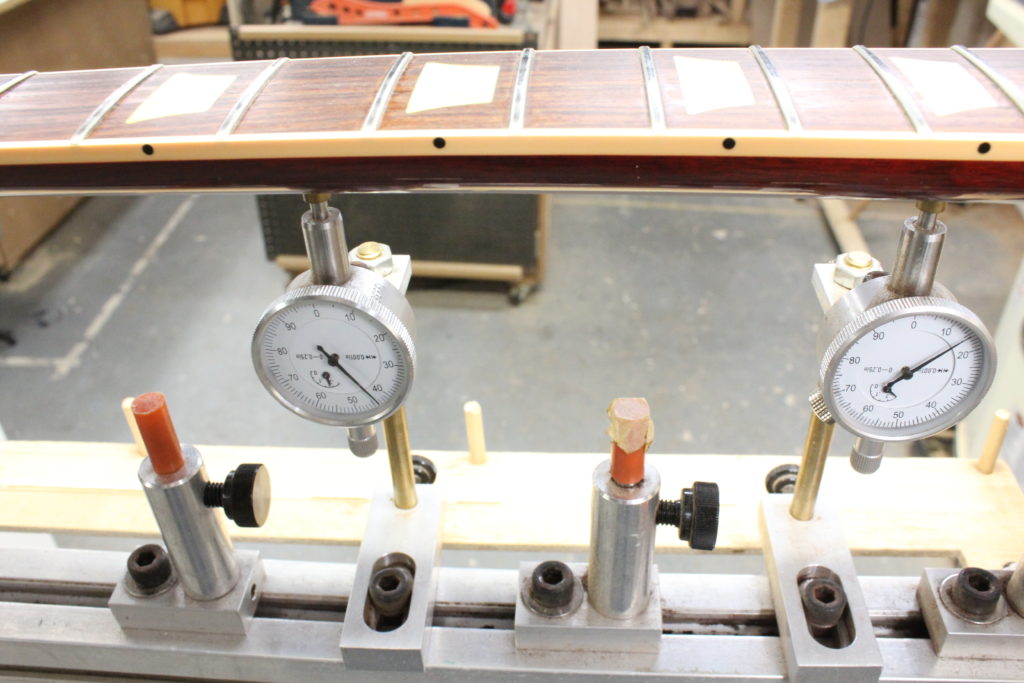
With the strings off, I now simulate the string tension using the peghead jack and the peghead puller. In short, the peghead jack creates an upbow, while the peghead puller creates a backbow. I use these in combination to force the neck into position so that the dial indicators read zero again. Once this is achieved, I use the neck support rods and bring them into contact with the back of the neck. These supports keep the neck from flexing during levelling.
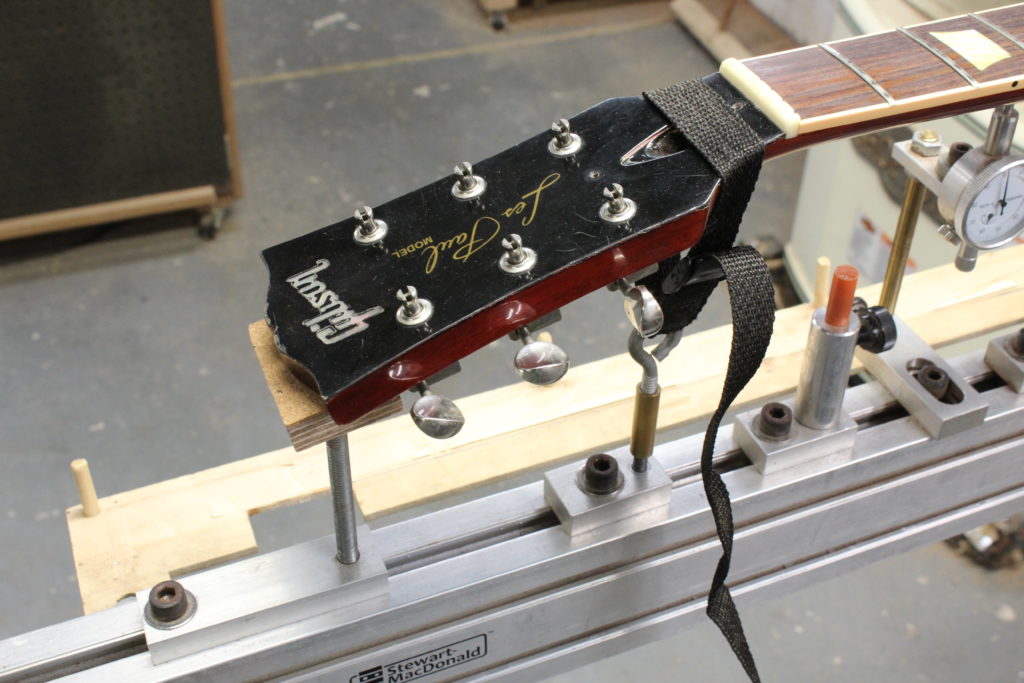
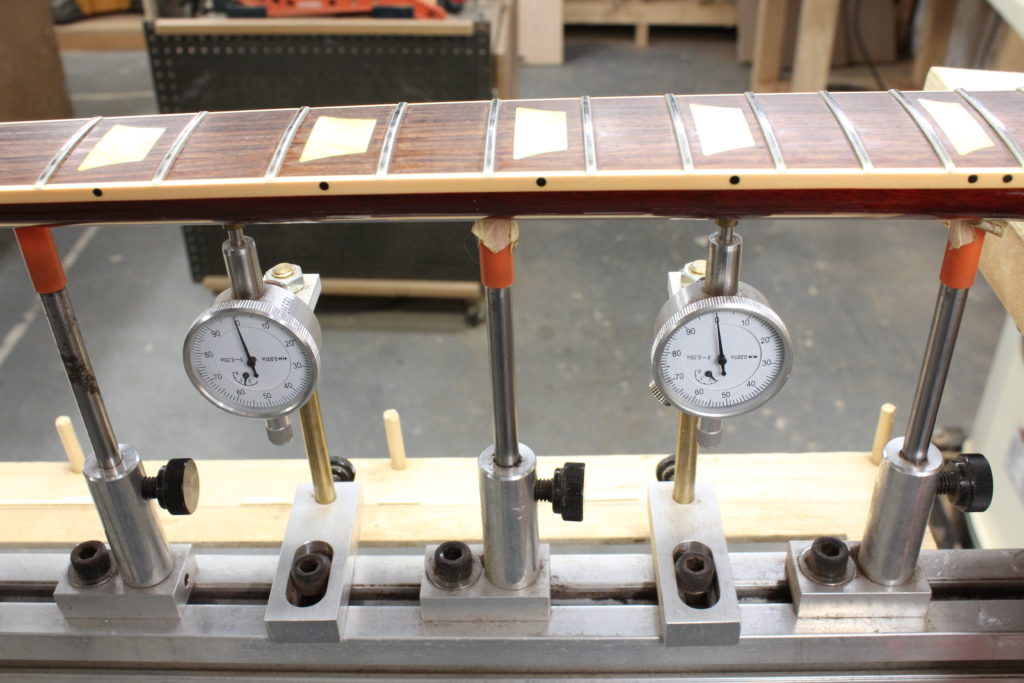
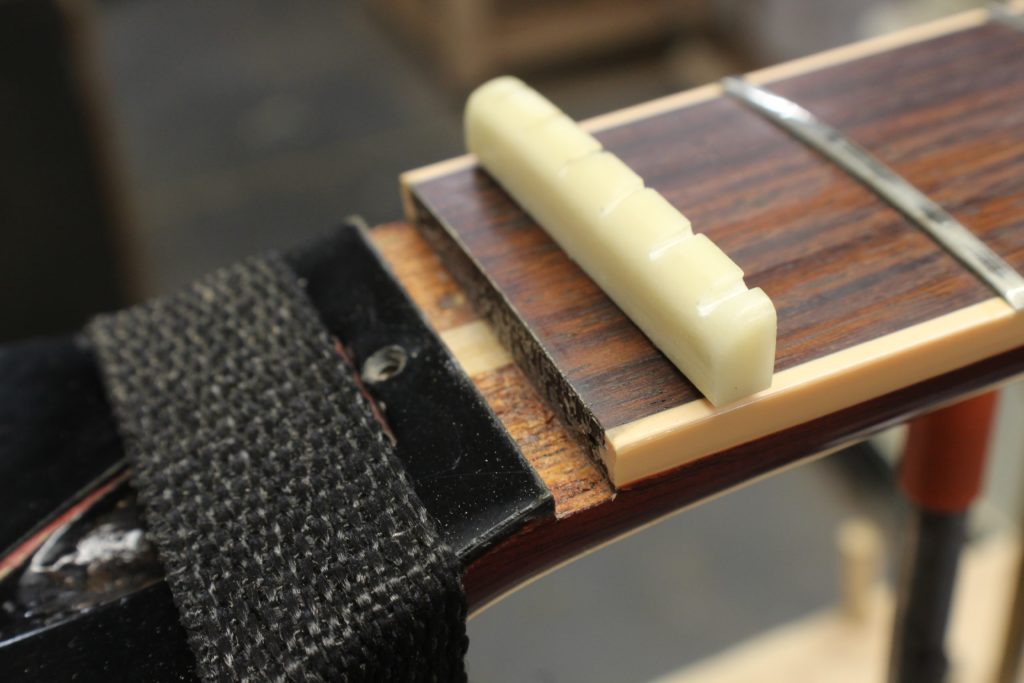
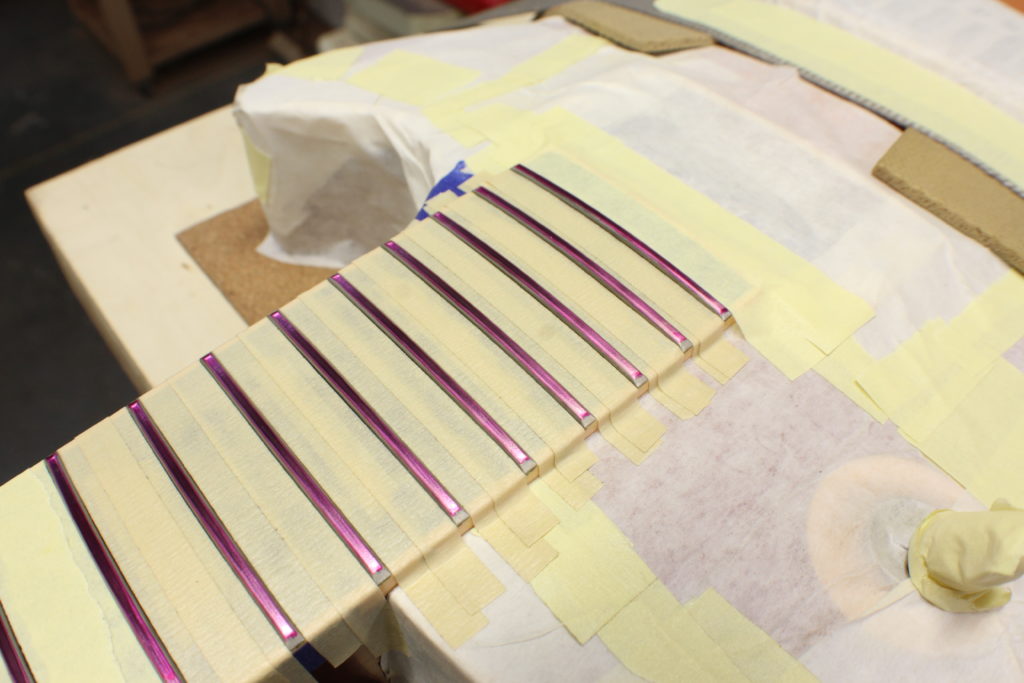
At this point I remove the nut by scoring the surrounding lacquer with a fresh pen knife blade, and gently tap it out. With the nut removed, my levelling beams can cover the entire distance of the fretboard without any interference. At this point I tape off the fretboard to prevent any metal shavings from damaging the fretboard or the inlays. I feel that this is best practice on any fretboard. I then mark off the frets with permanent marker. I prefer magenta or orange as I feel it’s the most visible color for my setup.
Conclusion – This concludes Part 1 of the Gibson Les Paul Fretwork. I will be discussing levelling, crowning, dressing, and polishing the frets in Part 2. If you have any questions or comments, feel free to message me through the Contact page and I’ll get back to you. Thank you!
-David