Gibson Les Paul Fretwork (Part 2)
Overview – In Part 1 of the Gibson Les Paul Fretwork blog, I discussed what causes fret buzz and how to prepare a guitar for fret levelling. In Part 2, I will be discussing levelling, crowning, dressing, and polishing the frets so let’s get into it.
Fretwork – I use my aluminum sanding beams and a combination of tools including files and sanding blocks to level the frets. My approach depends on the guitar itself but I typically like to use my 24″ aluminum sanding beam with 220 grit sandpaper to do a light first pass of the fretboard so that I can get an idea of where the high spots and low spots are, and then adjust accordingly. The way I use the sanding beam is to gently move the beam up and down the length of the fretboard, while also making my way across the frets, and repeating this pattern.
A few things to note, it’s important to maintain the radius of the frets and the method I described allows for that. Otherwise, you will have frets that are high on the ends and low in the middle. It’s also important to make sure you aren’t “ramping” the frets. What I mean by this is to make sure that you’re levelling the frets with consideration to the fret heights. If you “ramp” the frets, they may be level, but the height of the first fret will be significantly less than the height of the last fret. This will give uneven playability over the length of the fretboard. On this particular guitar I have this happening to a slight degree. There’s about a 0.005″ difference in fret height from the first to the last fret, but I don’t consider that to be too much of an issue. Here are some of the tools that I use in order to level the frets:
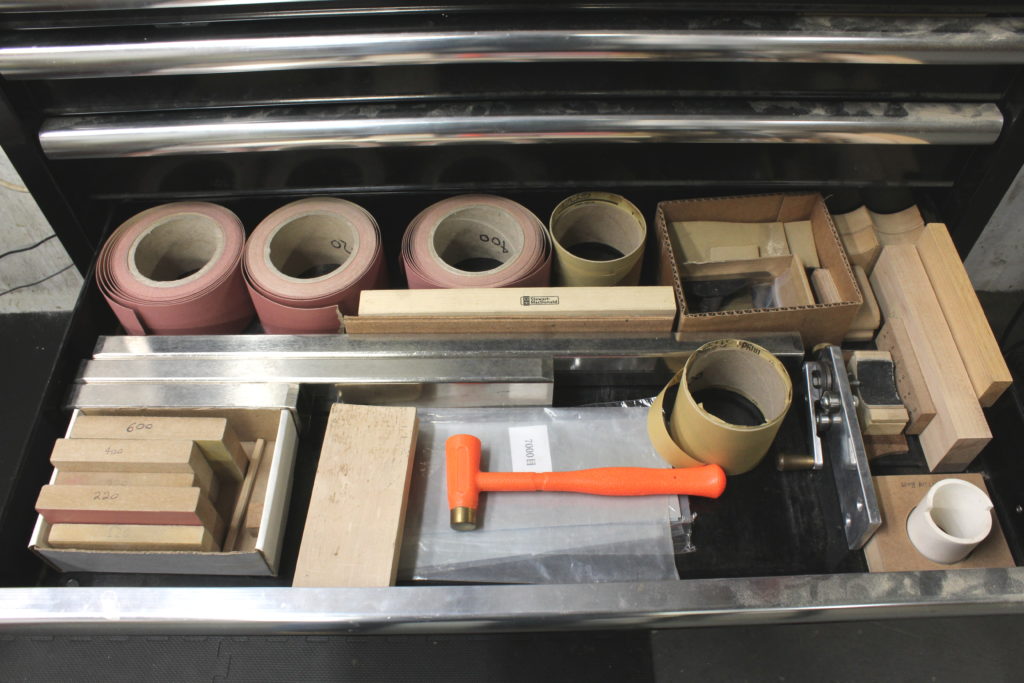
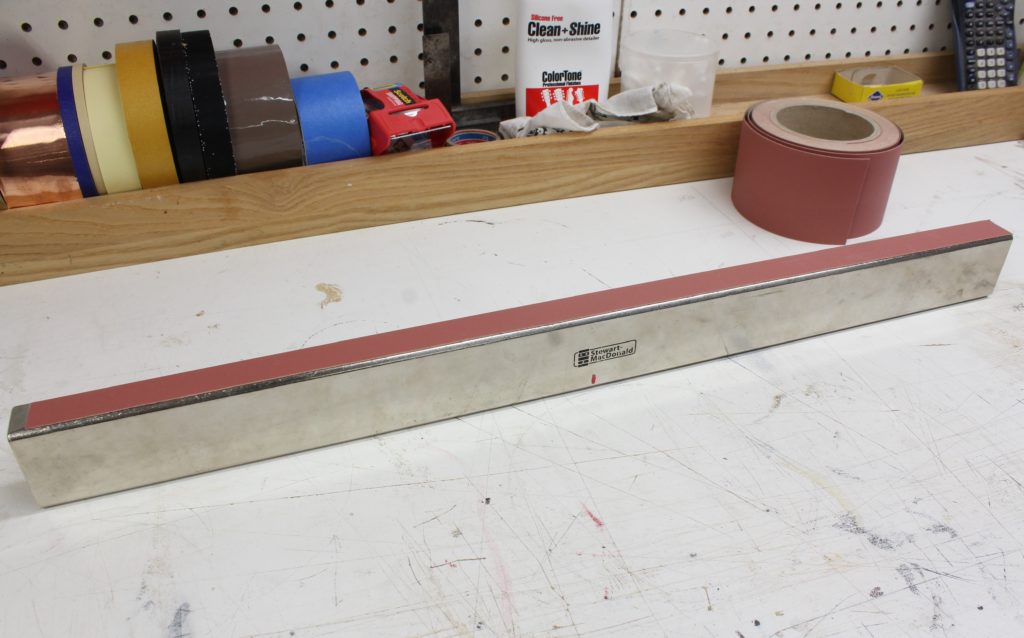
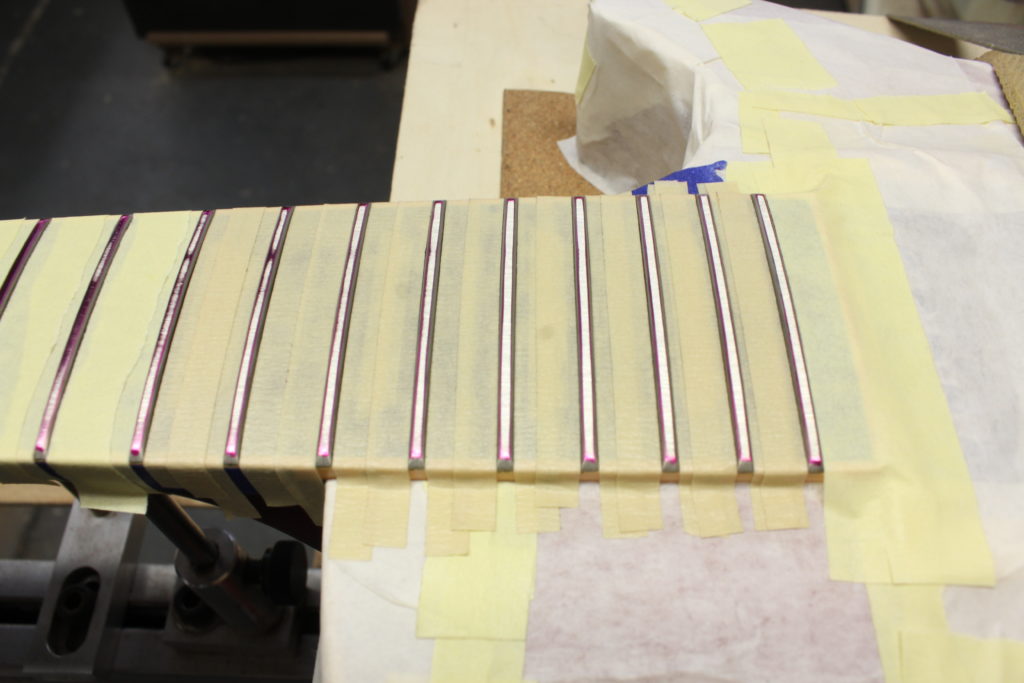
You can see from the video below just how much material I take off of the frets. I’m using 220 grit sandpaper and it takes about four “passes” with the levelling beam and sanding block to get the frets close. As soon as they are all level or very close to it, I switch to crowning the frets.
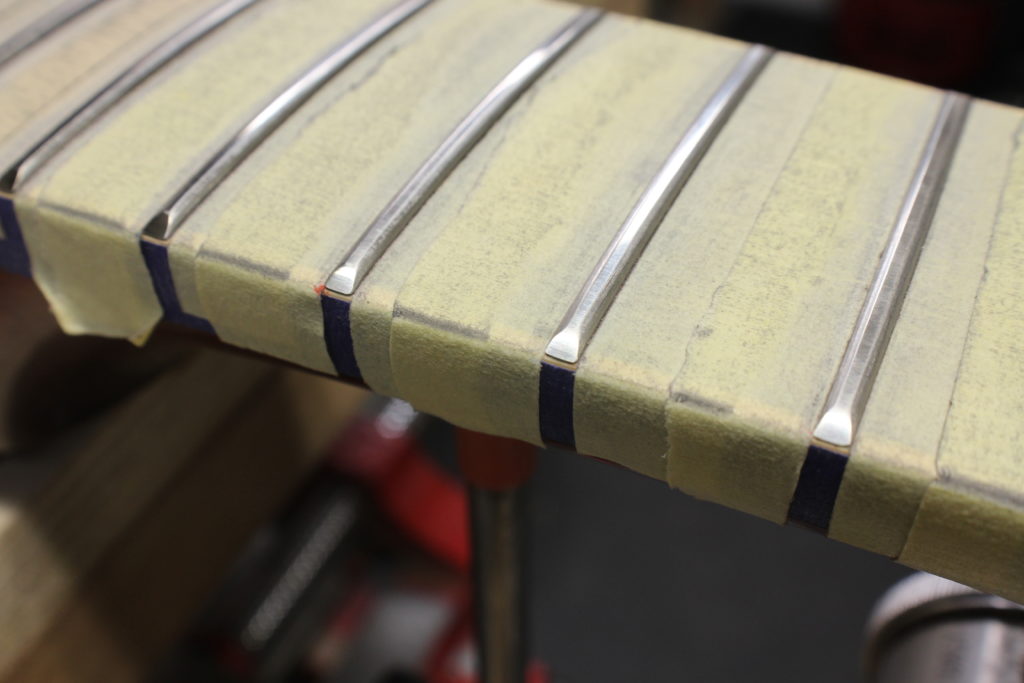
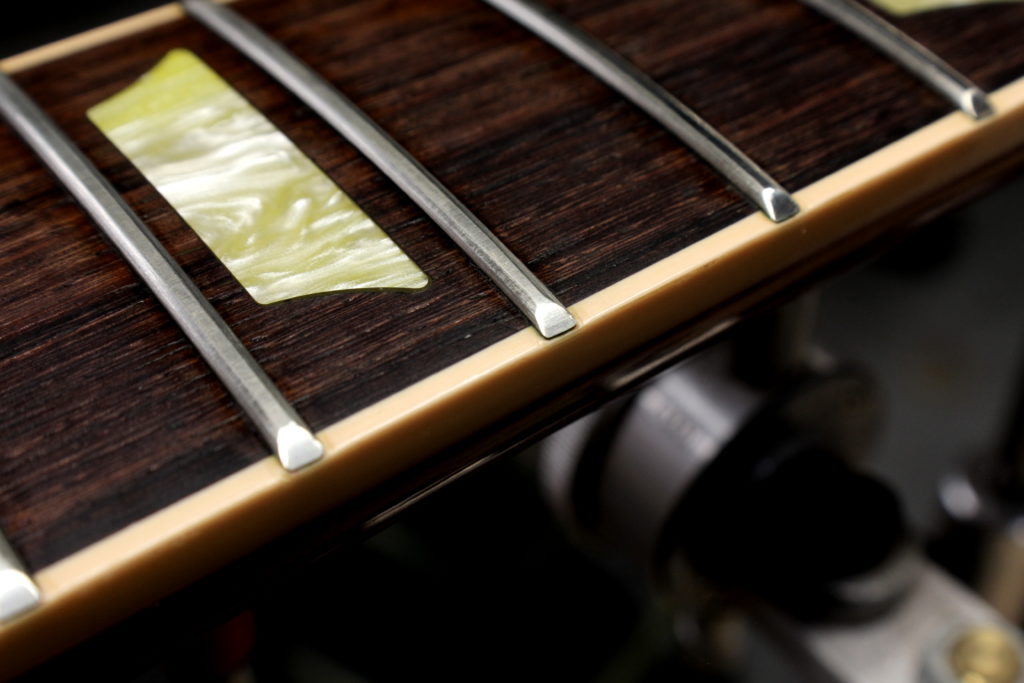
There are a variety of tools available designed to crown the frets. I prefer the old school approach of using a 3 corner file with the edges ground off flat. The idea when crowning the frets is to recreate the rounded profile of the fret that was there prior to levelling. I use my crowning file and stroke horizontally across frets to give them an appropriate profile. I want the levelled top of the frets to be as thin as possible for playability and intonation purposes, and I also don’t want to scratch the tops of the frets with my file (although it’s usually not the end of the world if this happens). Here are pictures of the tools that I use and some pictures of the crowned frets.
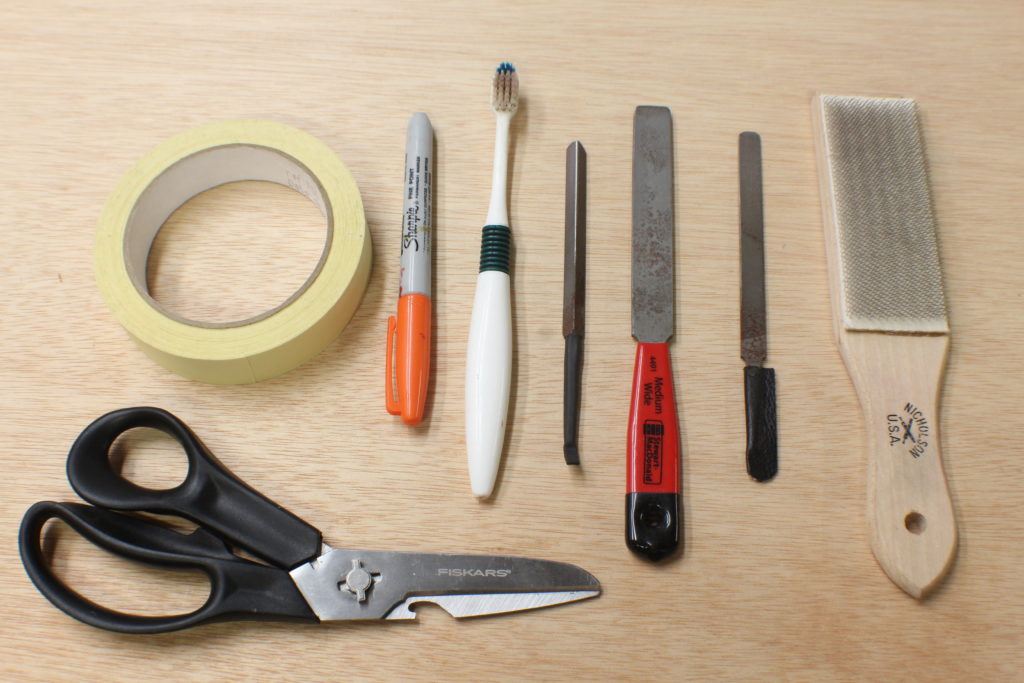
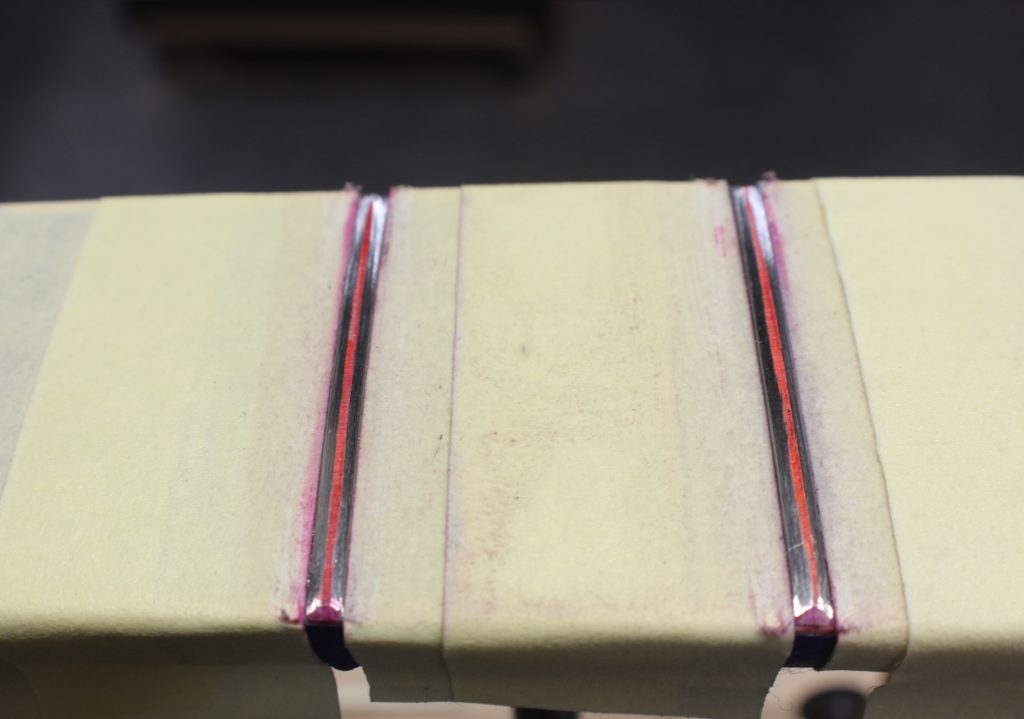
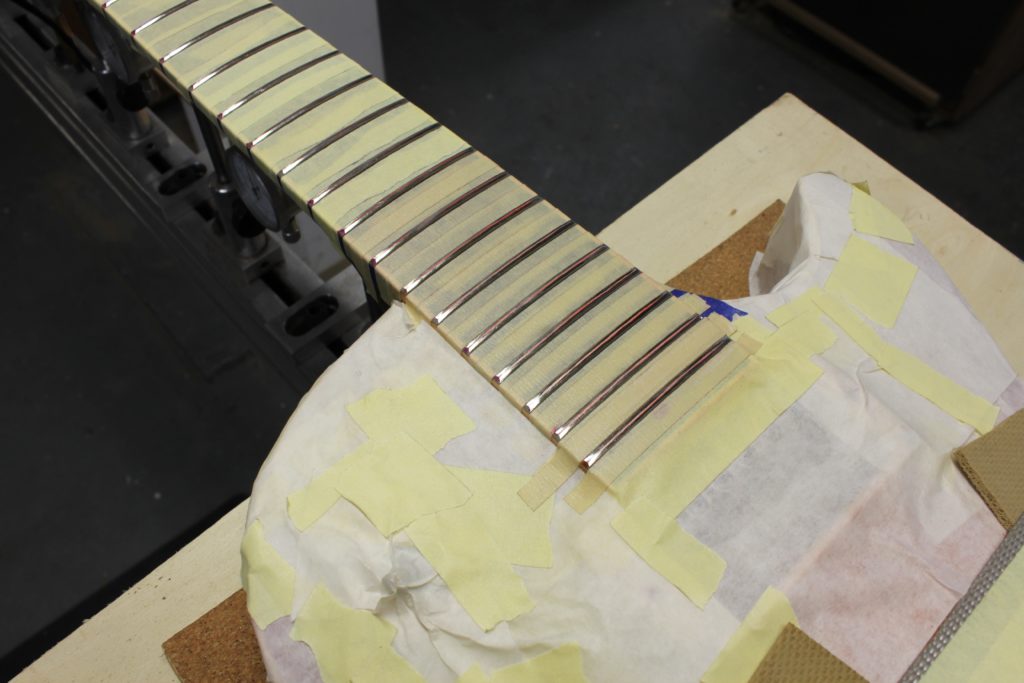
In addition to the 3 corner file, I also use a fine tooth pillar file to remove any scratches that were left behind from the 3 corner file. Once all of the frets are crowned and cleaned up, I will switch to a sanding stick with 220 grit sand paper to match the where I left off when levelling the fret tops.
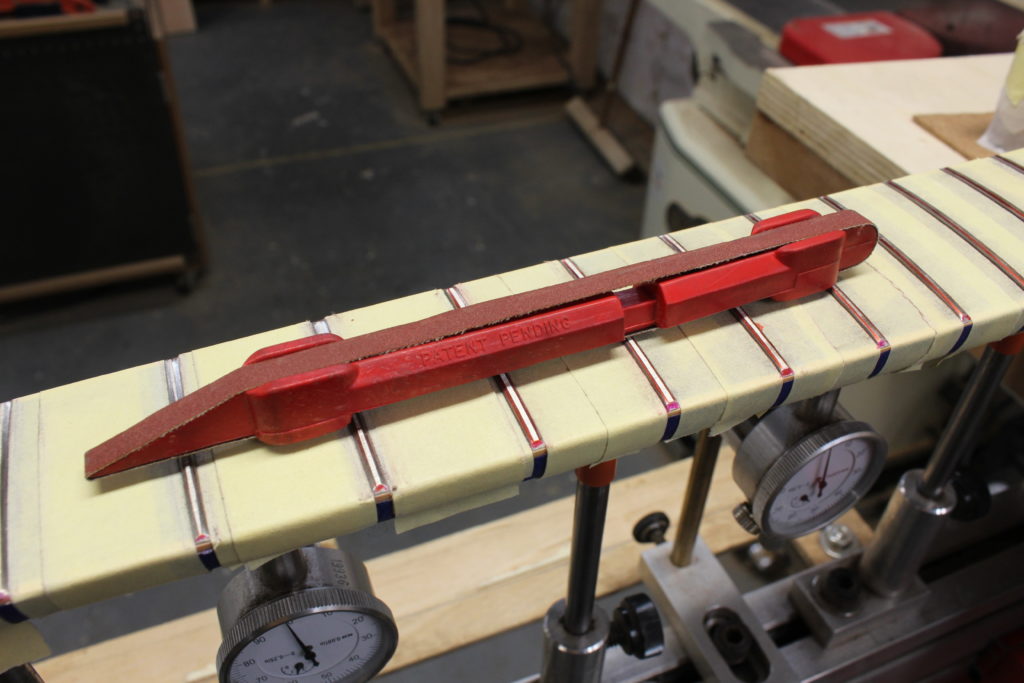
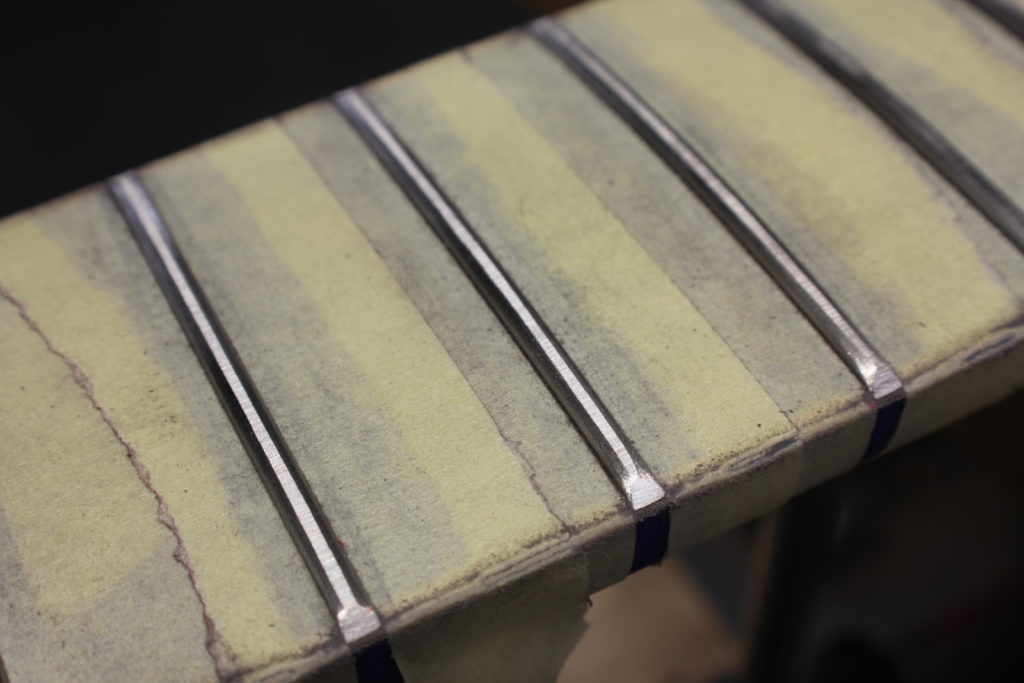
Once I’ve reached this stage, I dress the fret ends with a fret end dressing file to take off any sharp edges from where the hand comes in contact with the neck. I do roughly 5-10 strokes on either side of the fret end, for all frets. Then it’s a matter of going back and forth between levelling the tops of the frets and sanding (polishing) the fret crowns, while also paying attention to the dressed ends. The progression of sandpaper grits that I use is 220, 320, 400, 600, 800, 1000, 1500, 3000, 5000, 7000, and then buff the frets with a wool buffing pad on a rotary sanding tool with a metal buffing compound. You can see some of the progress below:
Conclusion – Once the frets have been levelled, crowned, dressed, and polished, the guitar is restrung and any minor adjustments that need to be made will be finished up. I decided to oil the fretboard on this occasion to match the new slickness of the frets. Once finished, you should have a guitar that plays as good as ever and that’s exactly what happened with this guitar. As I stated in Part 1, I still consider myself a novice with fretwork and I know there are some areas that I need to improve upon. With that said, I’m proud of how this turned on and I feel like I’m finally getting this process down. The guitar is playing great and I’m looking forward to creating new music with it!
Thank you for reading and if you have any questions or comments, feel free to message me through the Contact page and I’ll get back to you. Thank you!
-David