Acoustic Guitar Bridge Reglue
Overview – I recently finished up with this Zager ZAD80CE OM acoustic guitar repair that was particularly tricky. It took just about all of my skills as a luthier to get this back to where it should be, and I’m pleased with how it turned out. This was my first time doing an acoustic guitar bridge reglue and I learned a few things which will come in handy moving forward. This is one of those guitar repairs that looks easy but is anything but. Overall it was a positive experience despite feeling like I was walking a tightrope at times. Anyway, let’s get into the details!
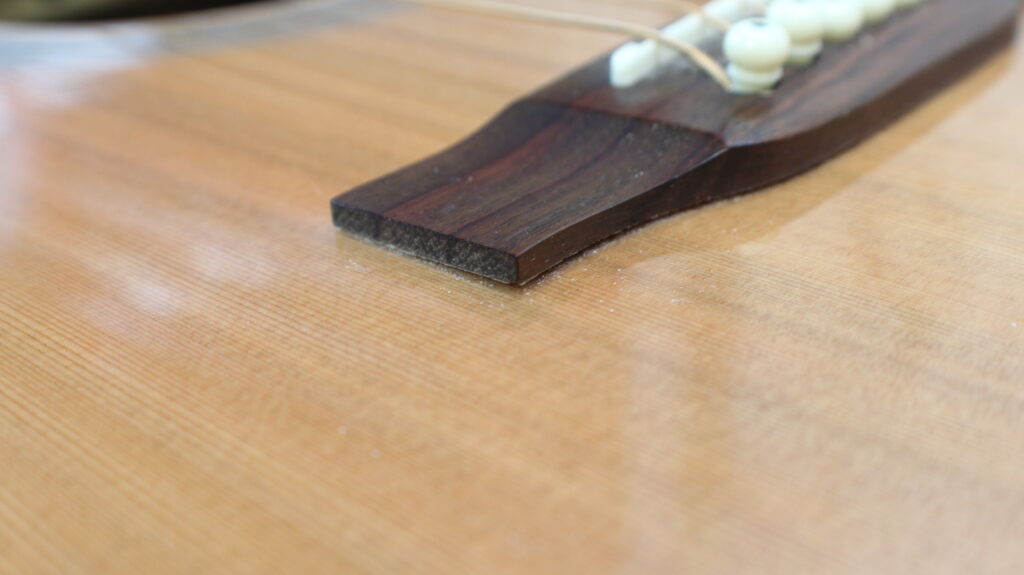
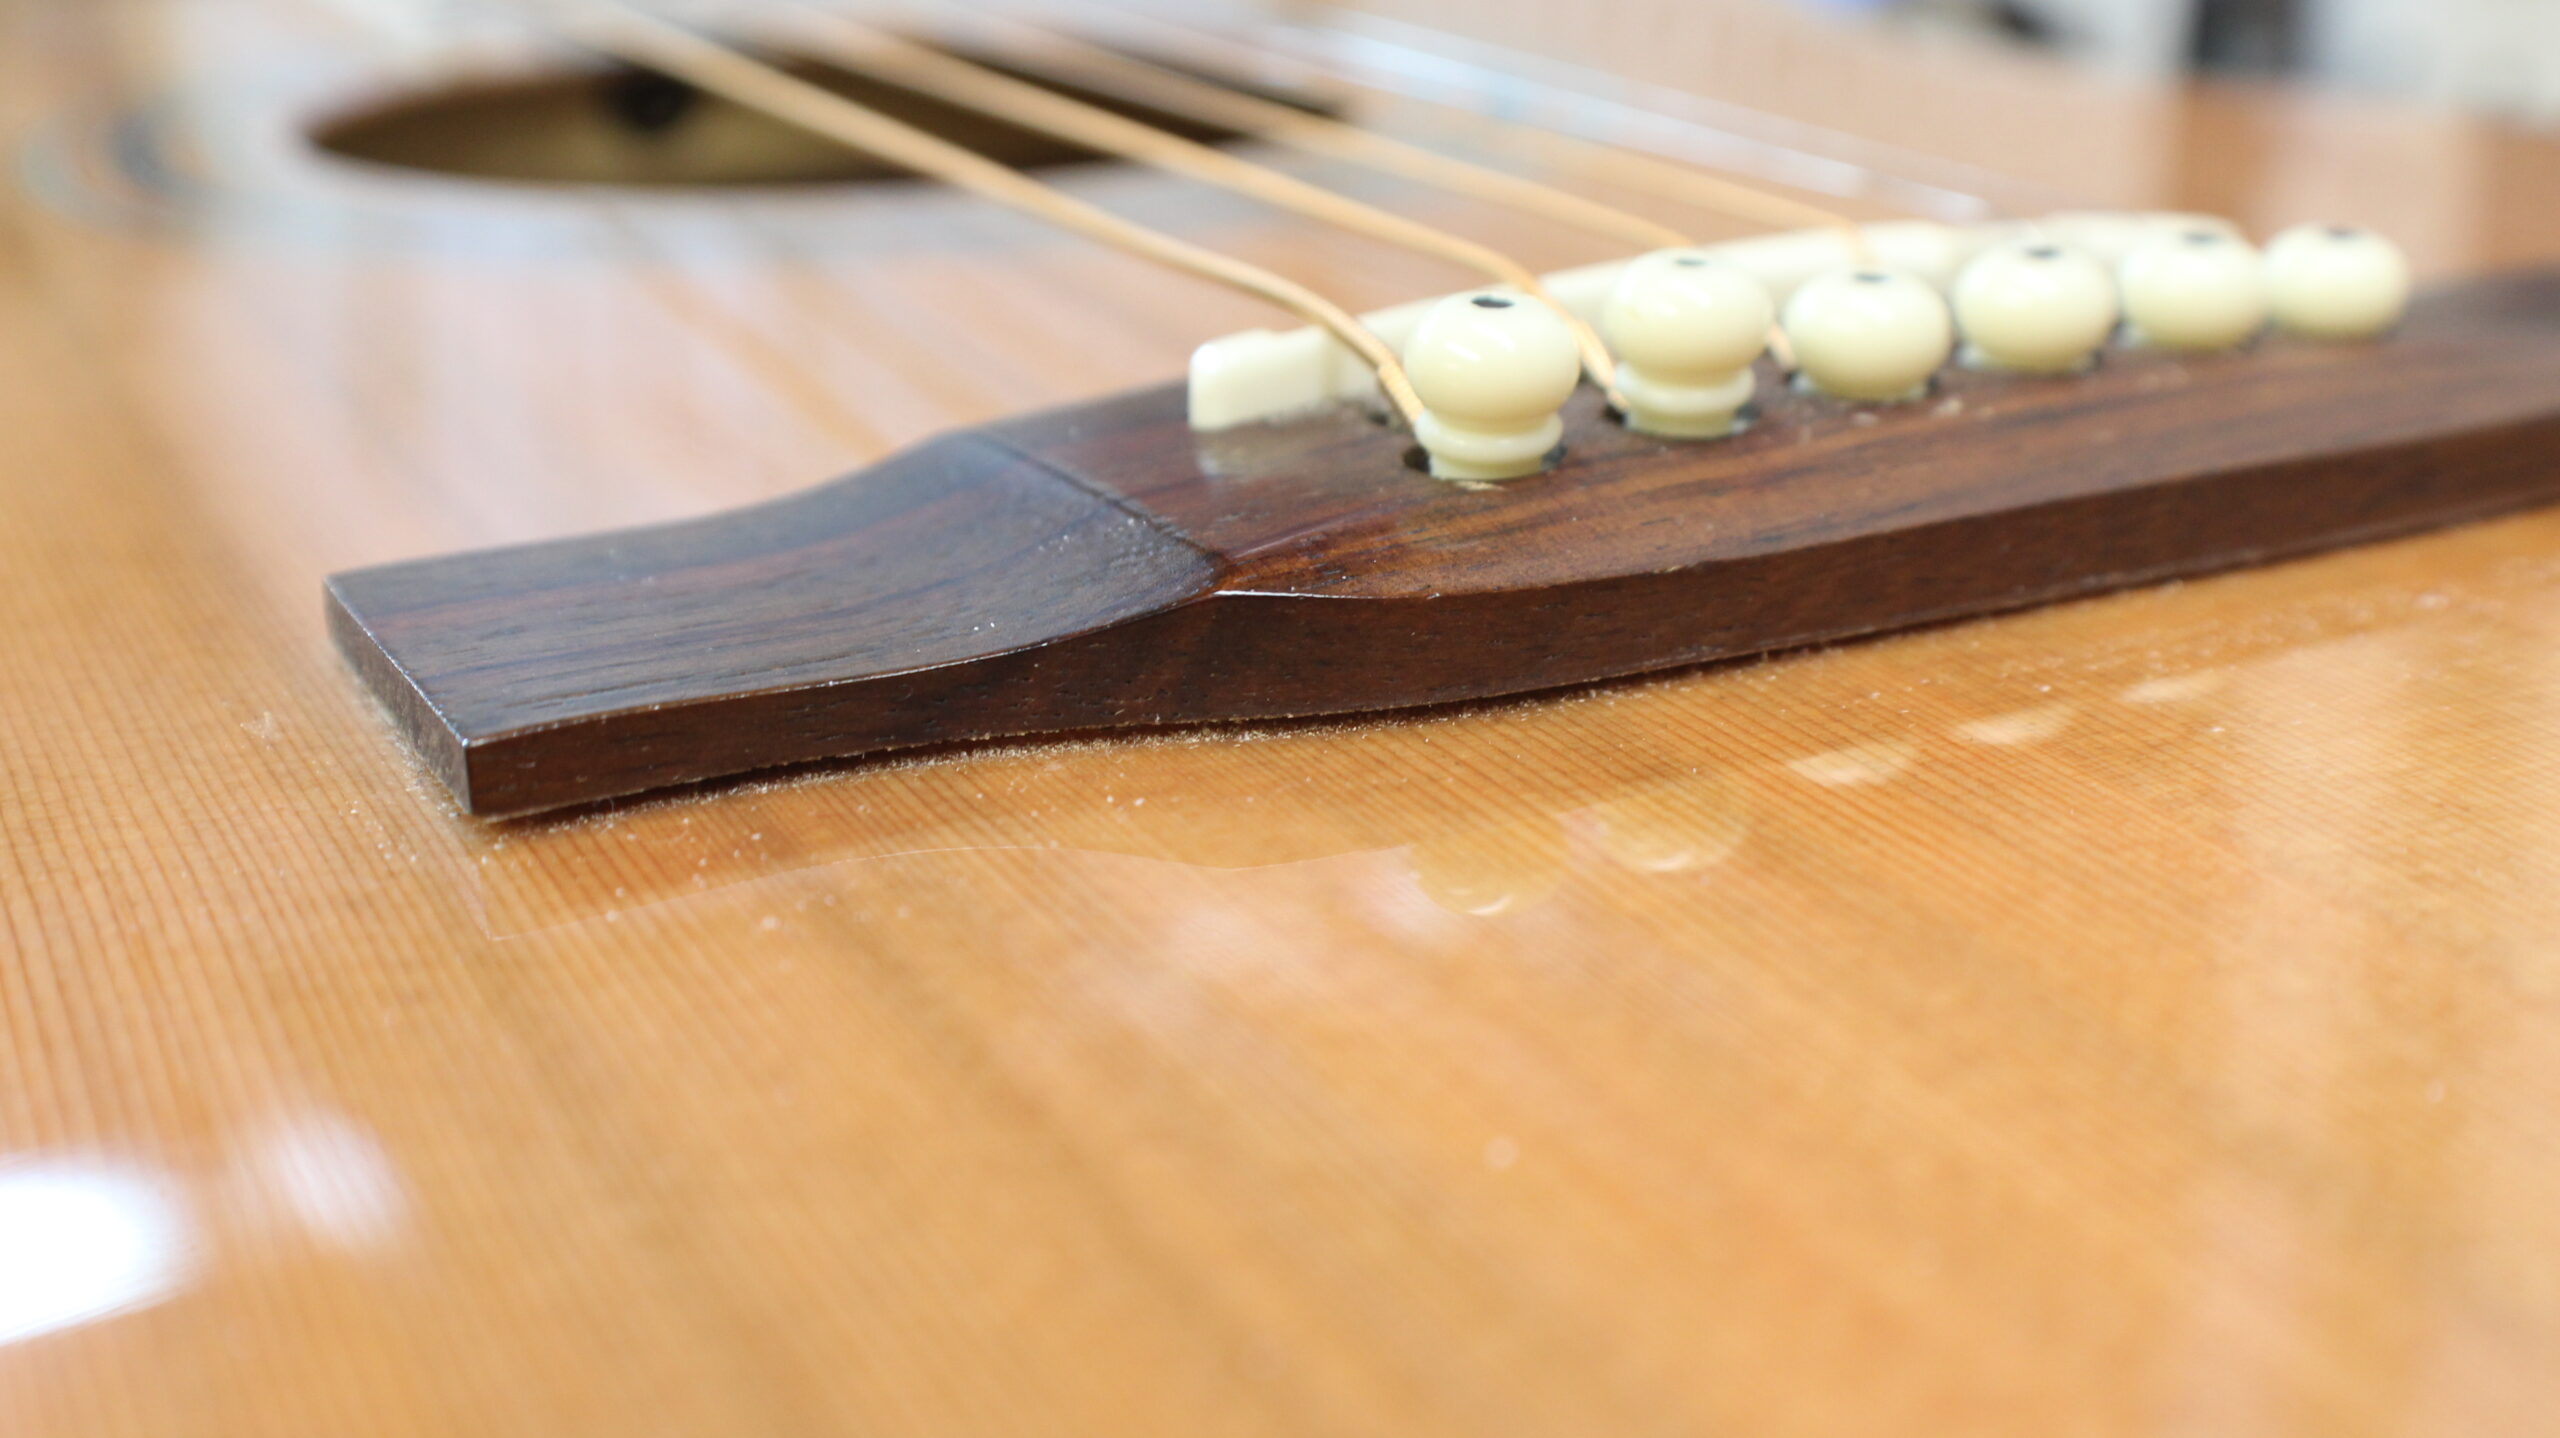
As you can see from the pictures above, the rosewood bridge is lifting and separating from the cedar top. This is not an uncommon problem for acoustic guitars since the mating surface of the bridge and top are in the vertical direction, whereas the string pull is in the horizontal direction. It should also be noted that string tension amounts to around 100lbs on an acoustic guitar and even more on an acoustic bass guitar. Because of these factors and the expansion and contraction of wood caused by temperature and humidity changes, it should come as no surprise why acoustic guitar bridges lift away from the top. Something that’s often overlooked is keeping your acoustic guitar in an environment with a consistent room temperature, and a humidity level roughly between 40% and 60% year round. It’s too late for this guitar so we began the re-glue process.
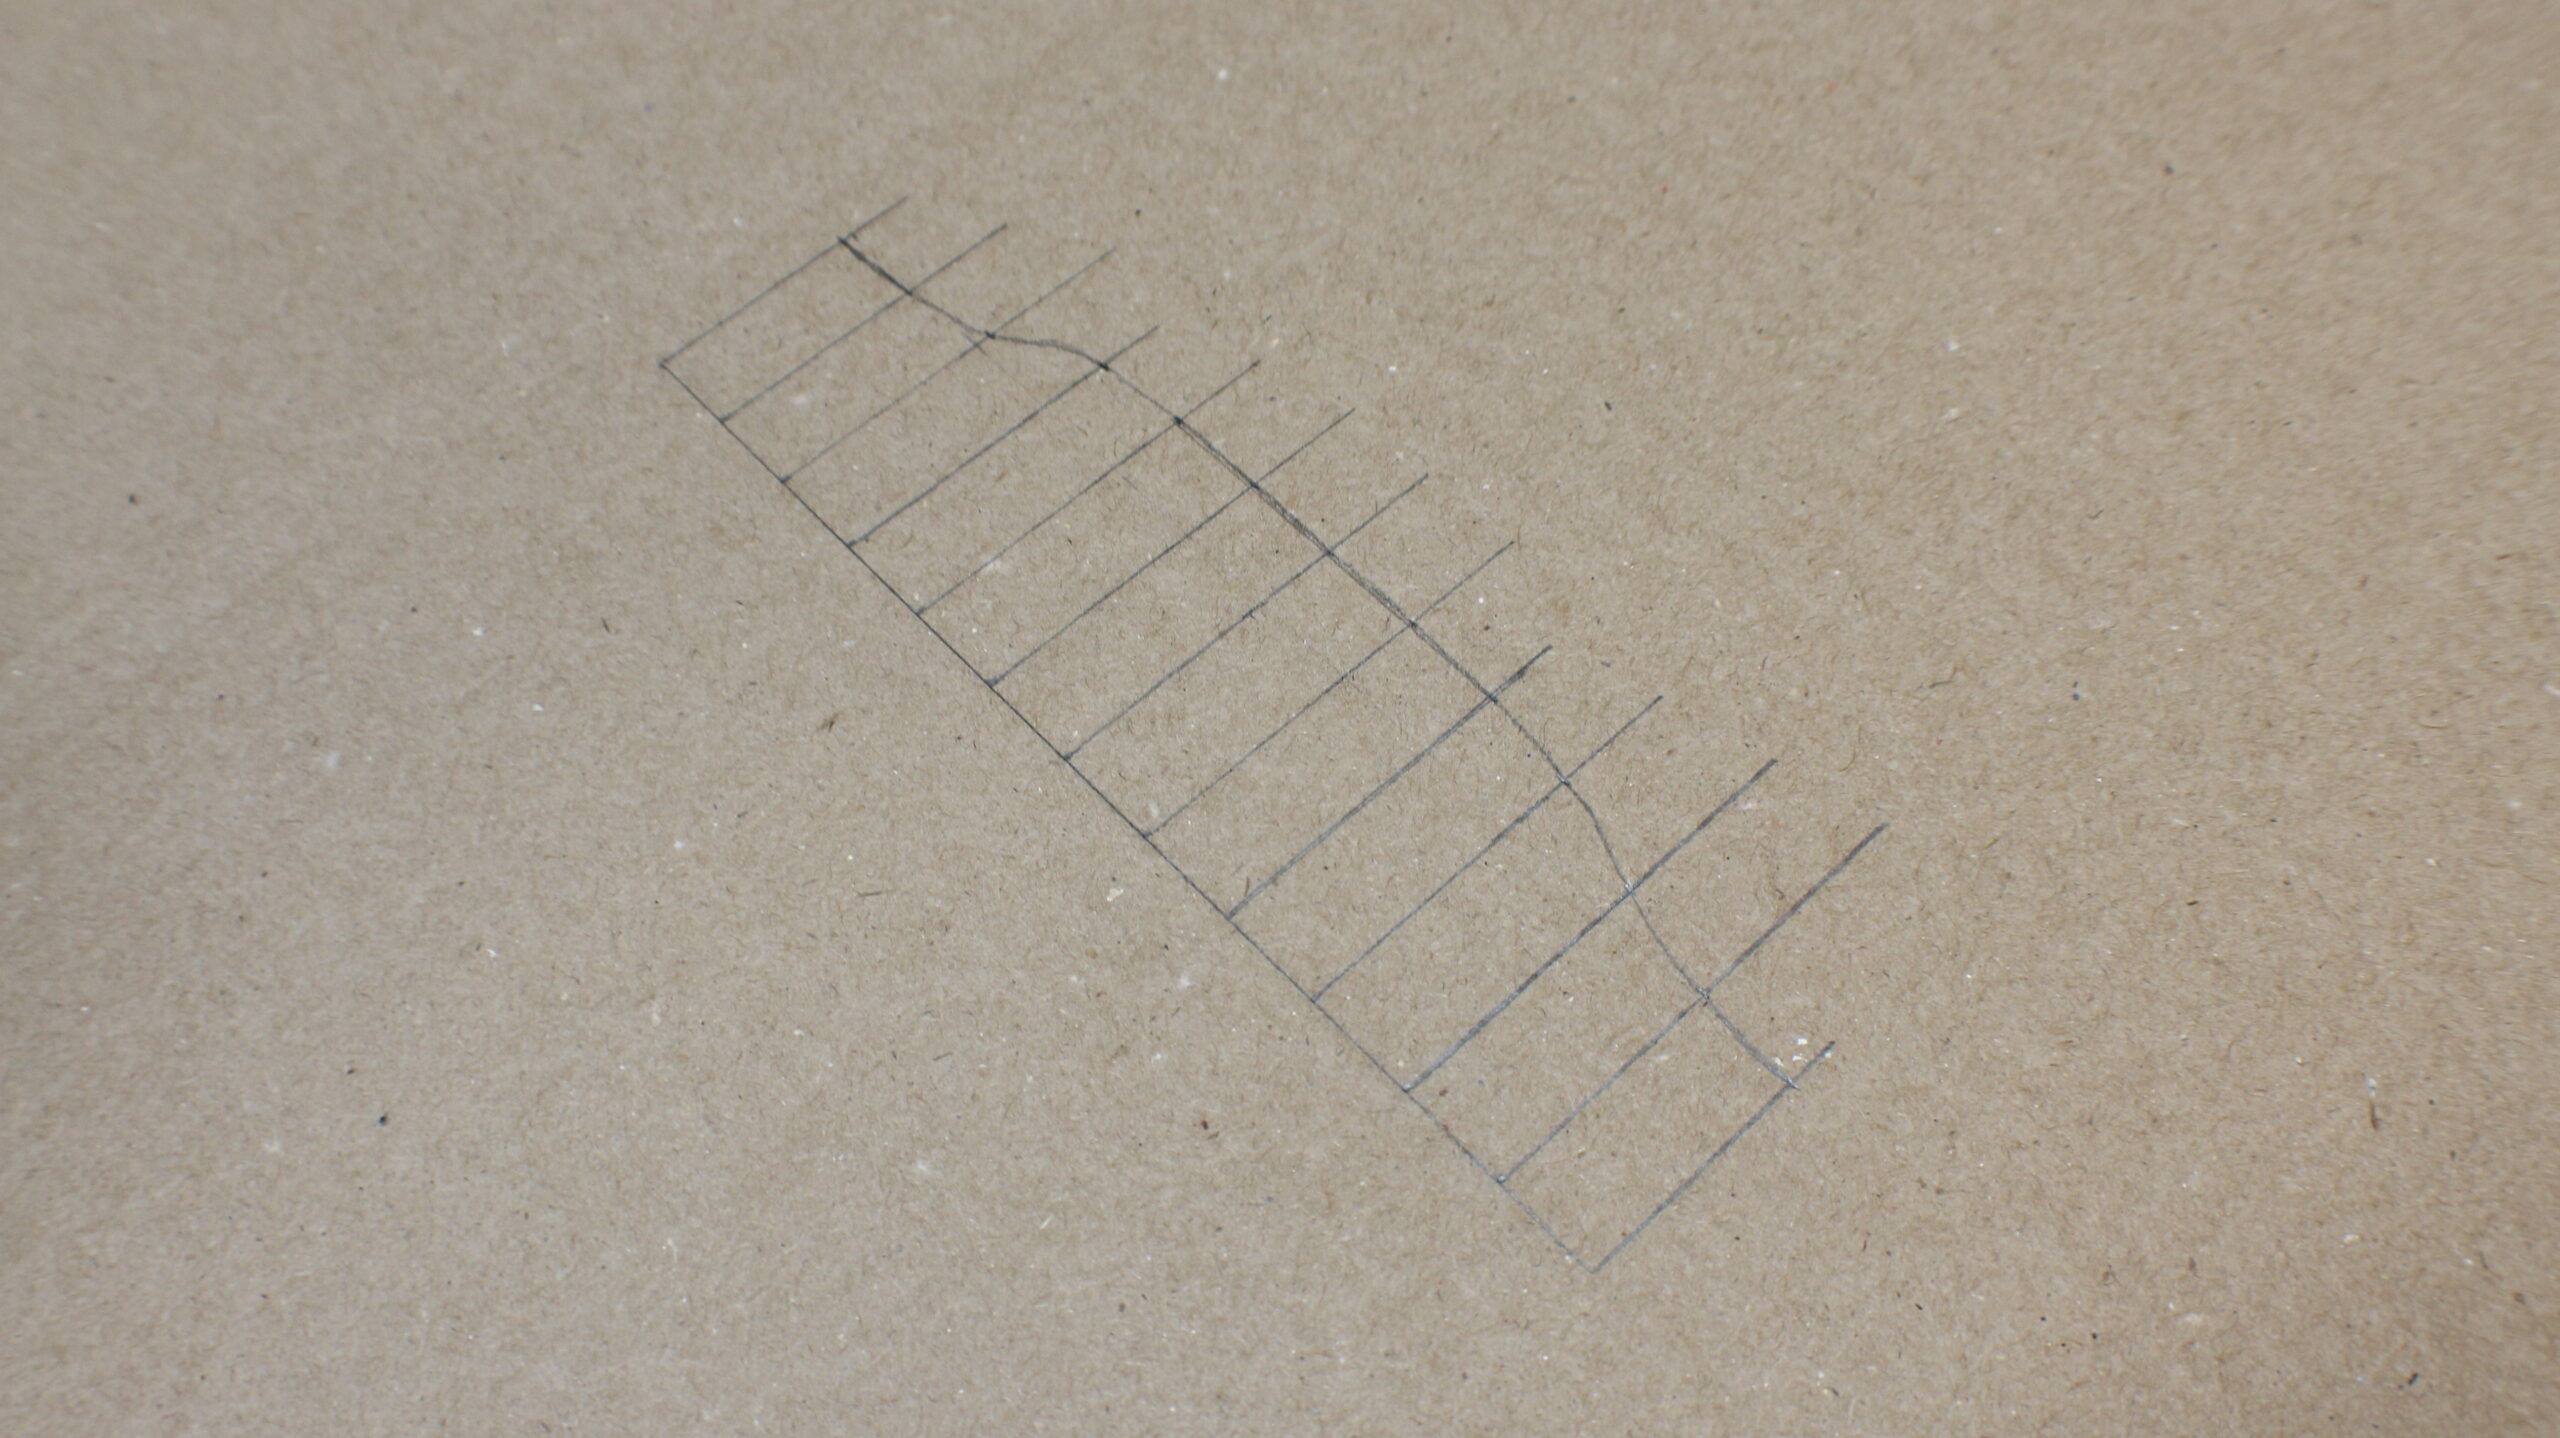
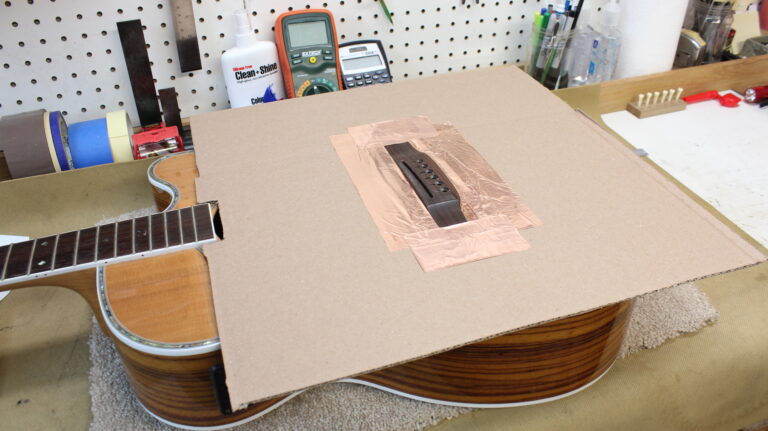
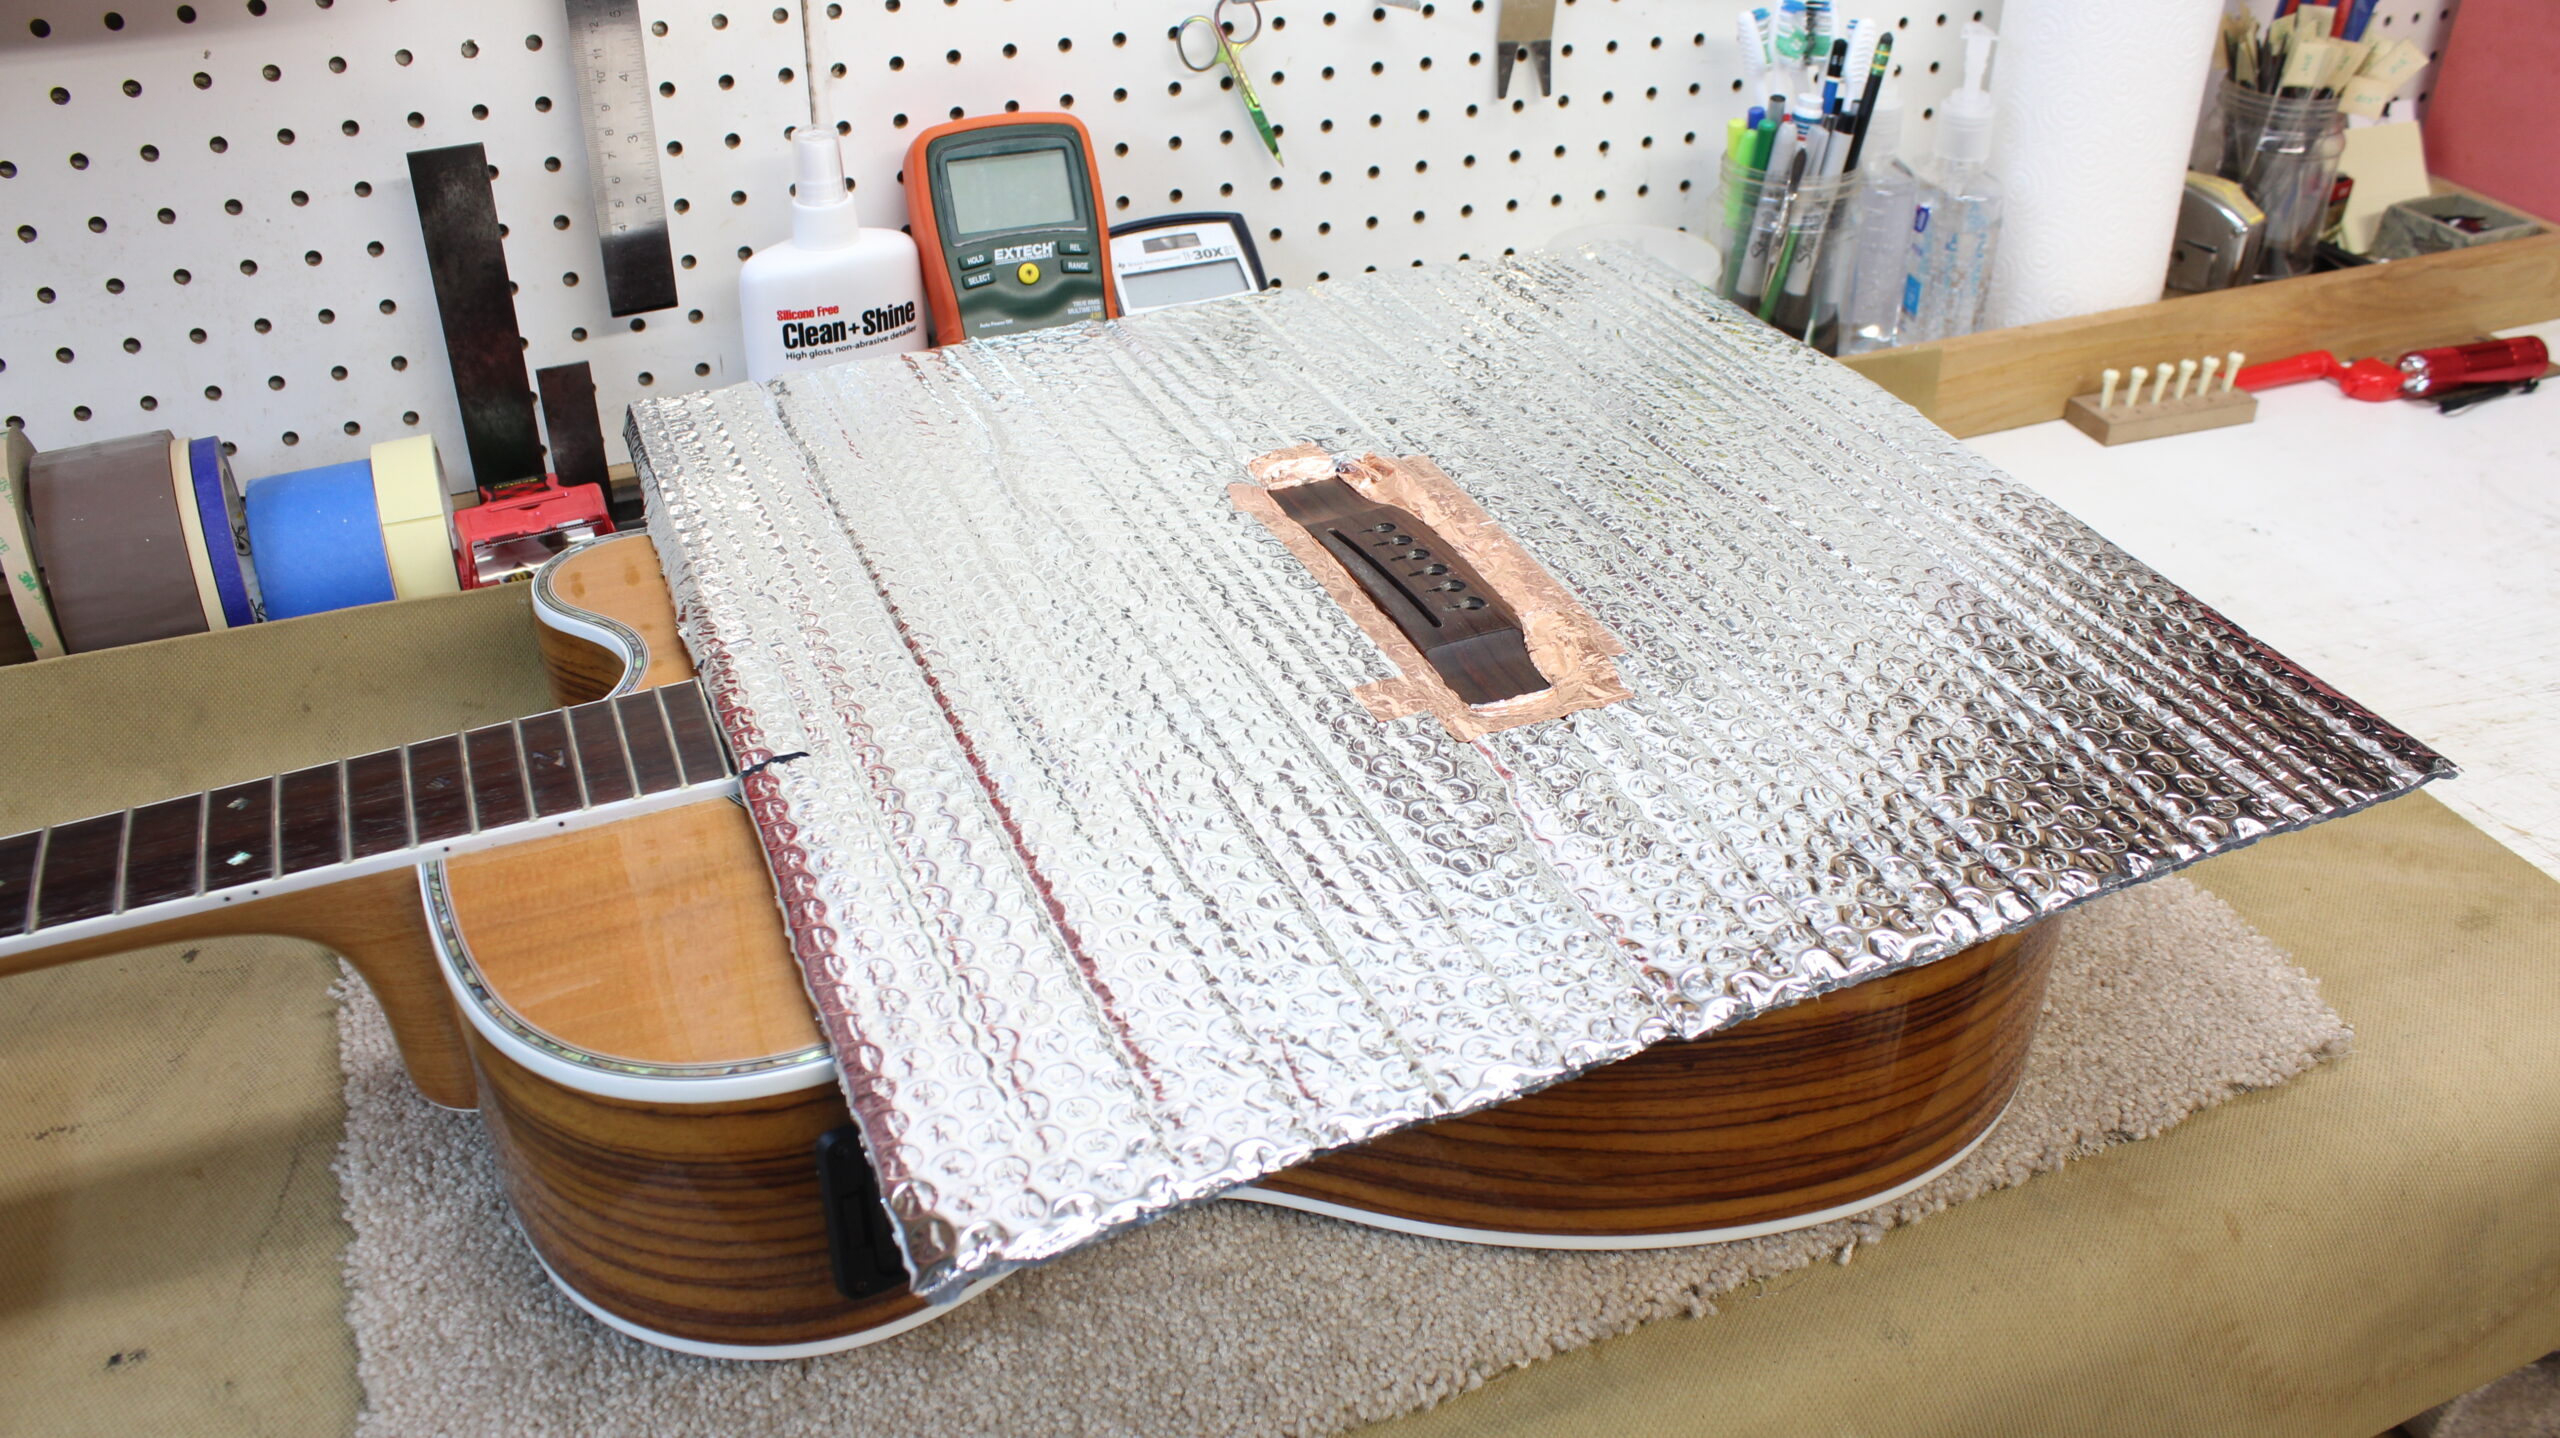
A lot of the work in guitar repair begins in the preparation stages and this task is no exception. The first thing that needed to be done was taking tension off of the bridge and top by detuning the guitar strings and removing them along with the bridge saddle and piezo pickup since this is an acoustic-electric guitar. From here, it was a matter of measuring the bridge and transferring the markings onto a large piece of cardboard and cutting it out. It’s also a good idea to add some copper shielding tape which you can get from StewMac to seal any gaps between the cardboard and the guitar top.
Once that was completed, I took some self-adhesive tape and stuck some reflective foil insulation to further protect the guitar top from the heat which I would be applying to the rosewood bridge. Before moving on, it’s important to score the lacquer around the perimeter of the bridge with a sharp razorblade to prevent finish from lifting up where it shouldn’t, and then mask off the areas to the front and sides of the bridge for reference purposes.
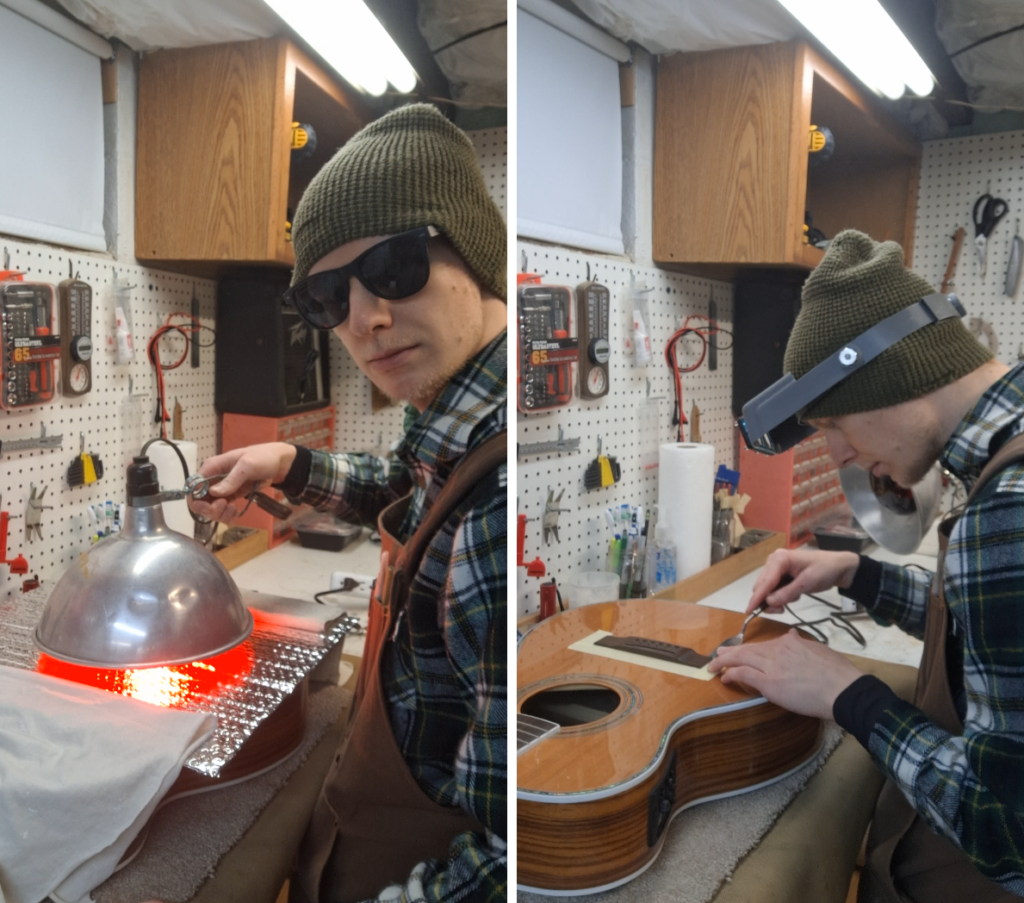
The picture above shows me using a Brooder heat lamp with a 250-watt infrared bulb. I applied heat to the bridge for roughly five minutes or so, then carefully set it aside along with the cardboard and began using a thin spatula to work into the joint between the guitar top and the bottom of the bridge. Under normal circumstances this would be done by going back and forth a few times, which would allow the bridge would separate nicely and easily. I did not get so lucky.
Unfortunately, the manufacturer decided to spray not only the entire guitar top with finish, which is improper because it doesn’t allow for a proper mating surface between the underside of the bridge and the guitar top, but they also tried to remedy this by using either superglue or epoxy to hold the bridge in place. Obviously this didn’t work since the bridge started to lift off the guitar which was less than five years old at this point and had not seen much in the way of misuse.
This made the removal of the bridge particularly challenging because the temperature that these adhesives start to weaken is significantly higher than typical wood glue or hide glue. I went back and forth many times between the heat lamp and the spatula and eventually was able to cleanly separate the bridge from the top. It’s very easy to get impatient or lose concentration at this point…
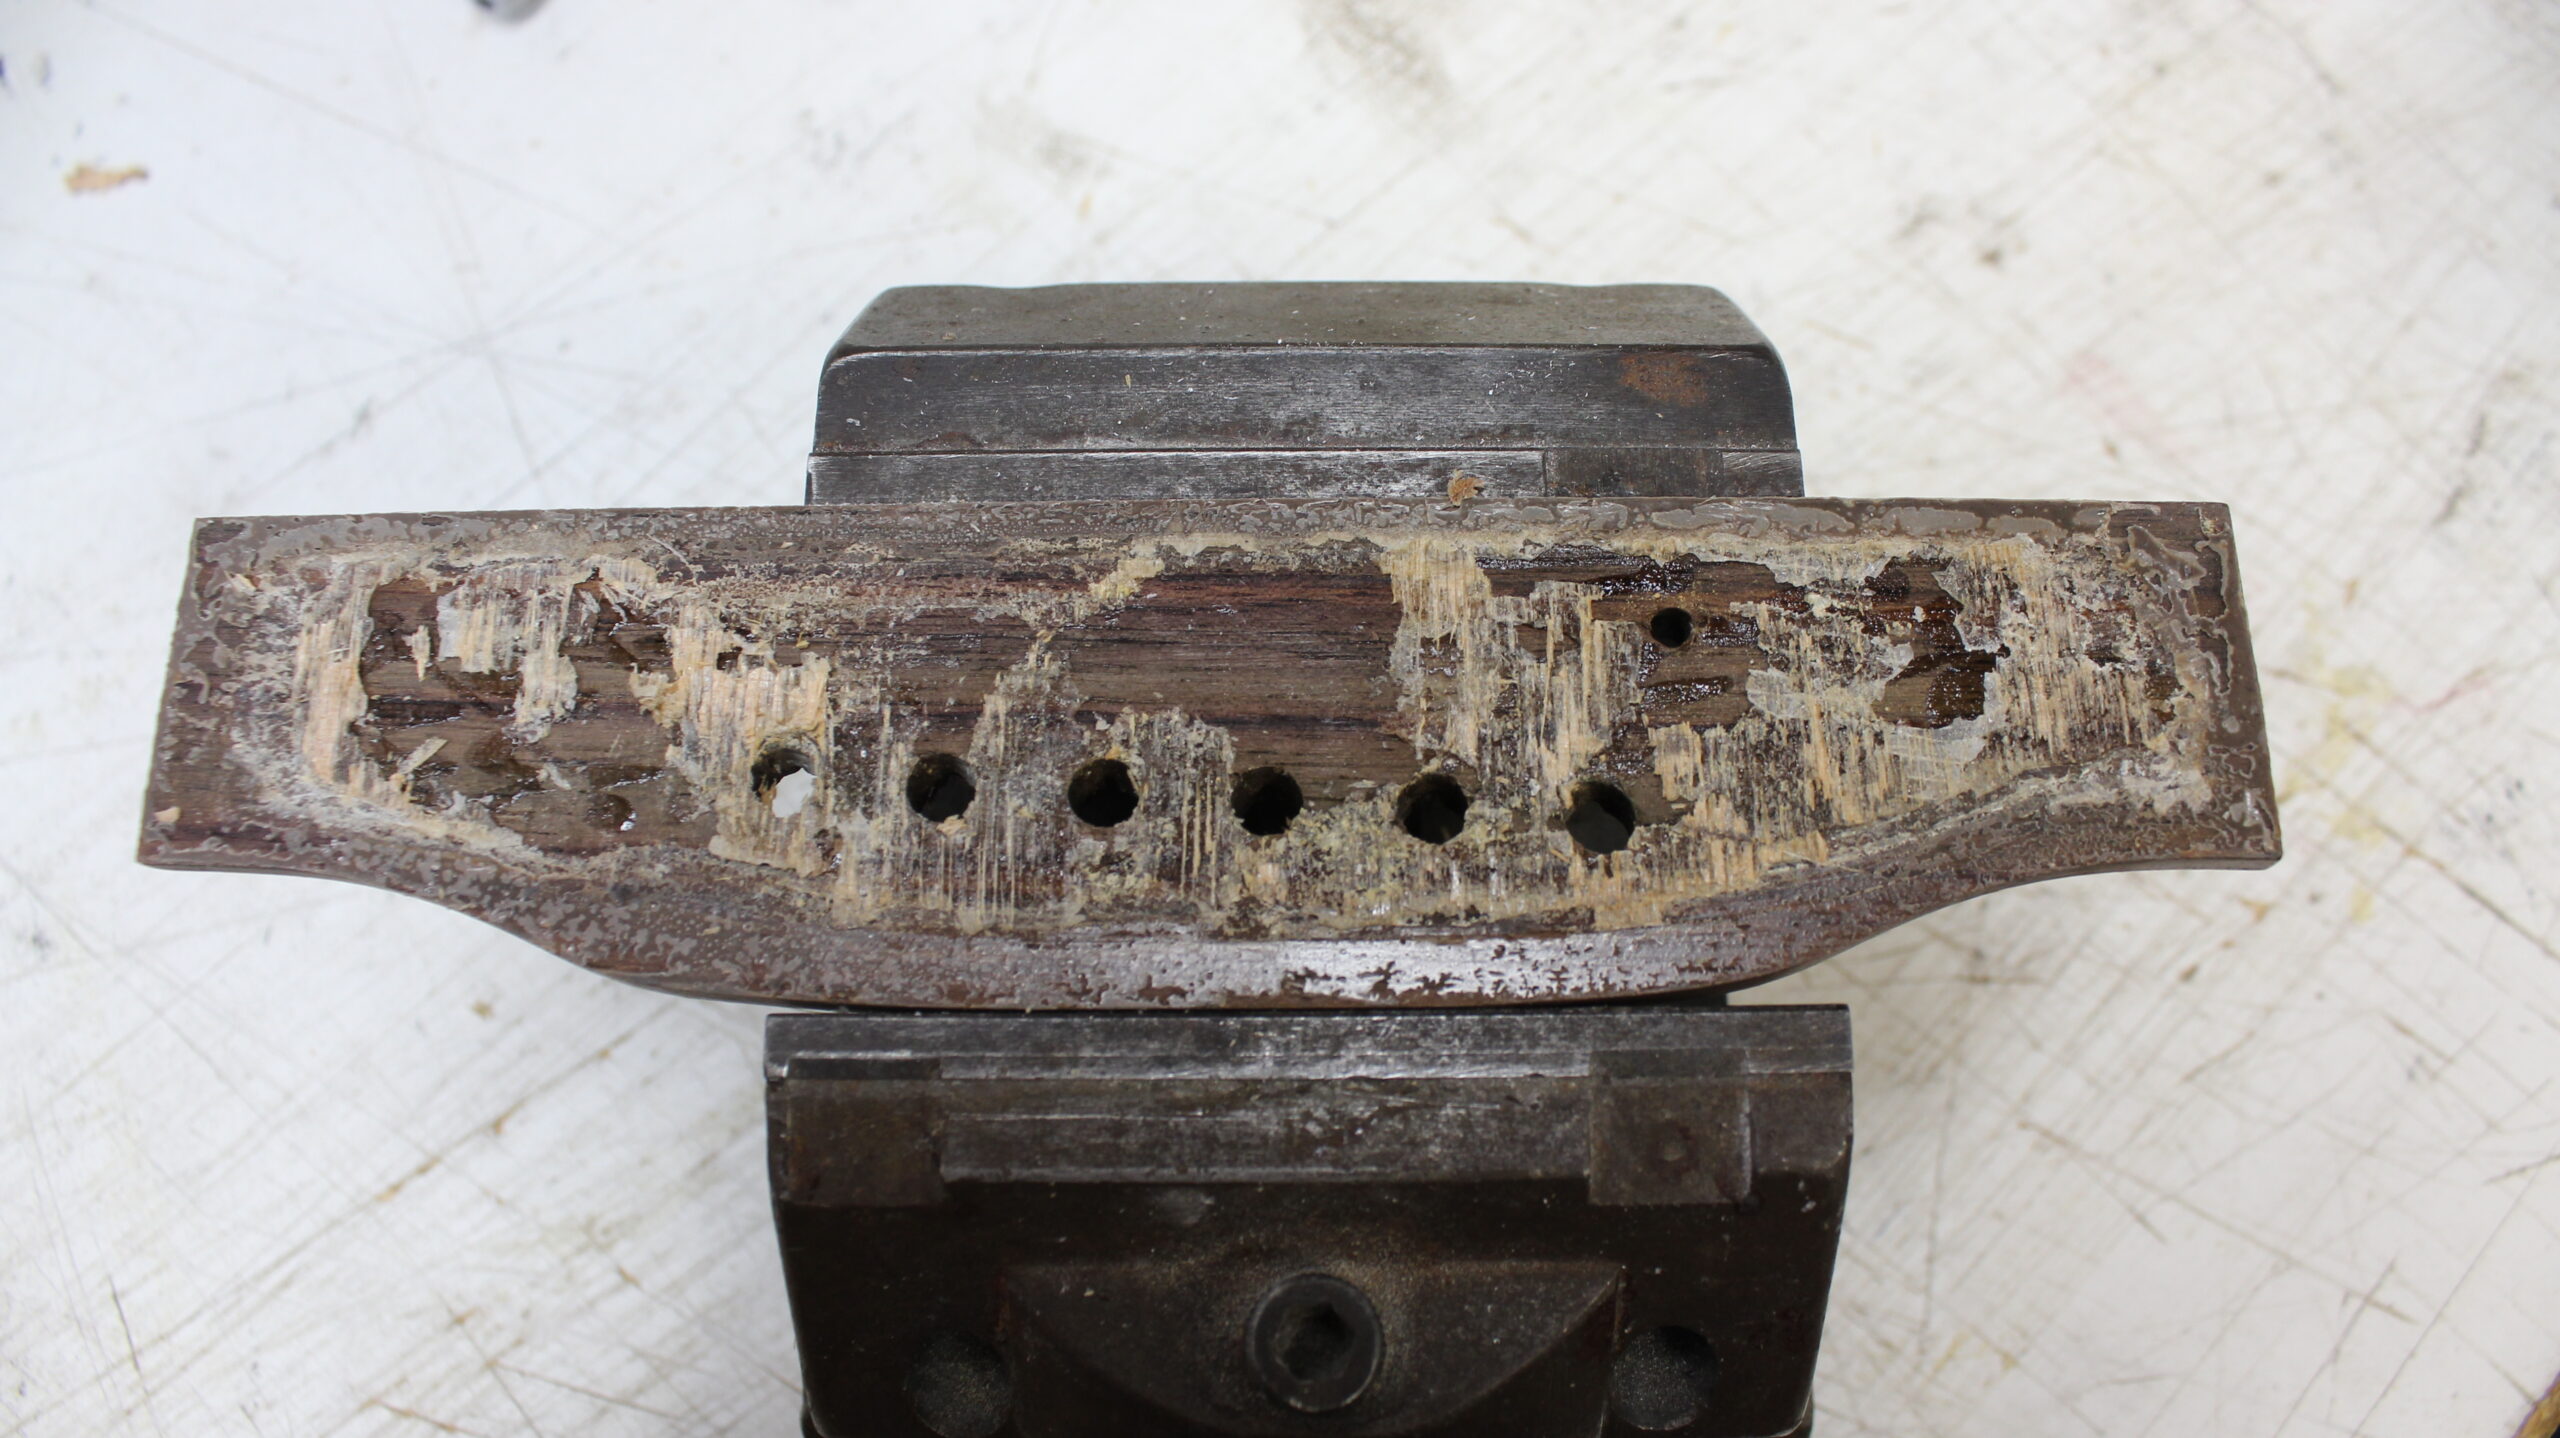
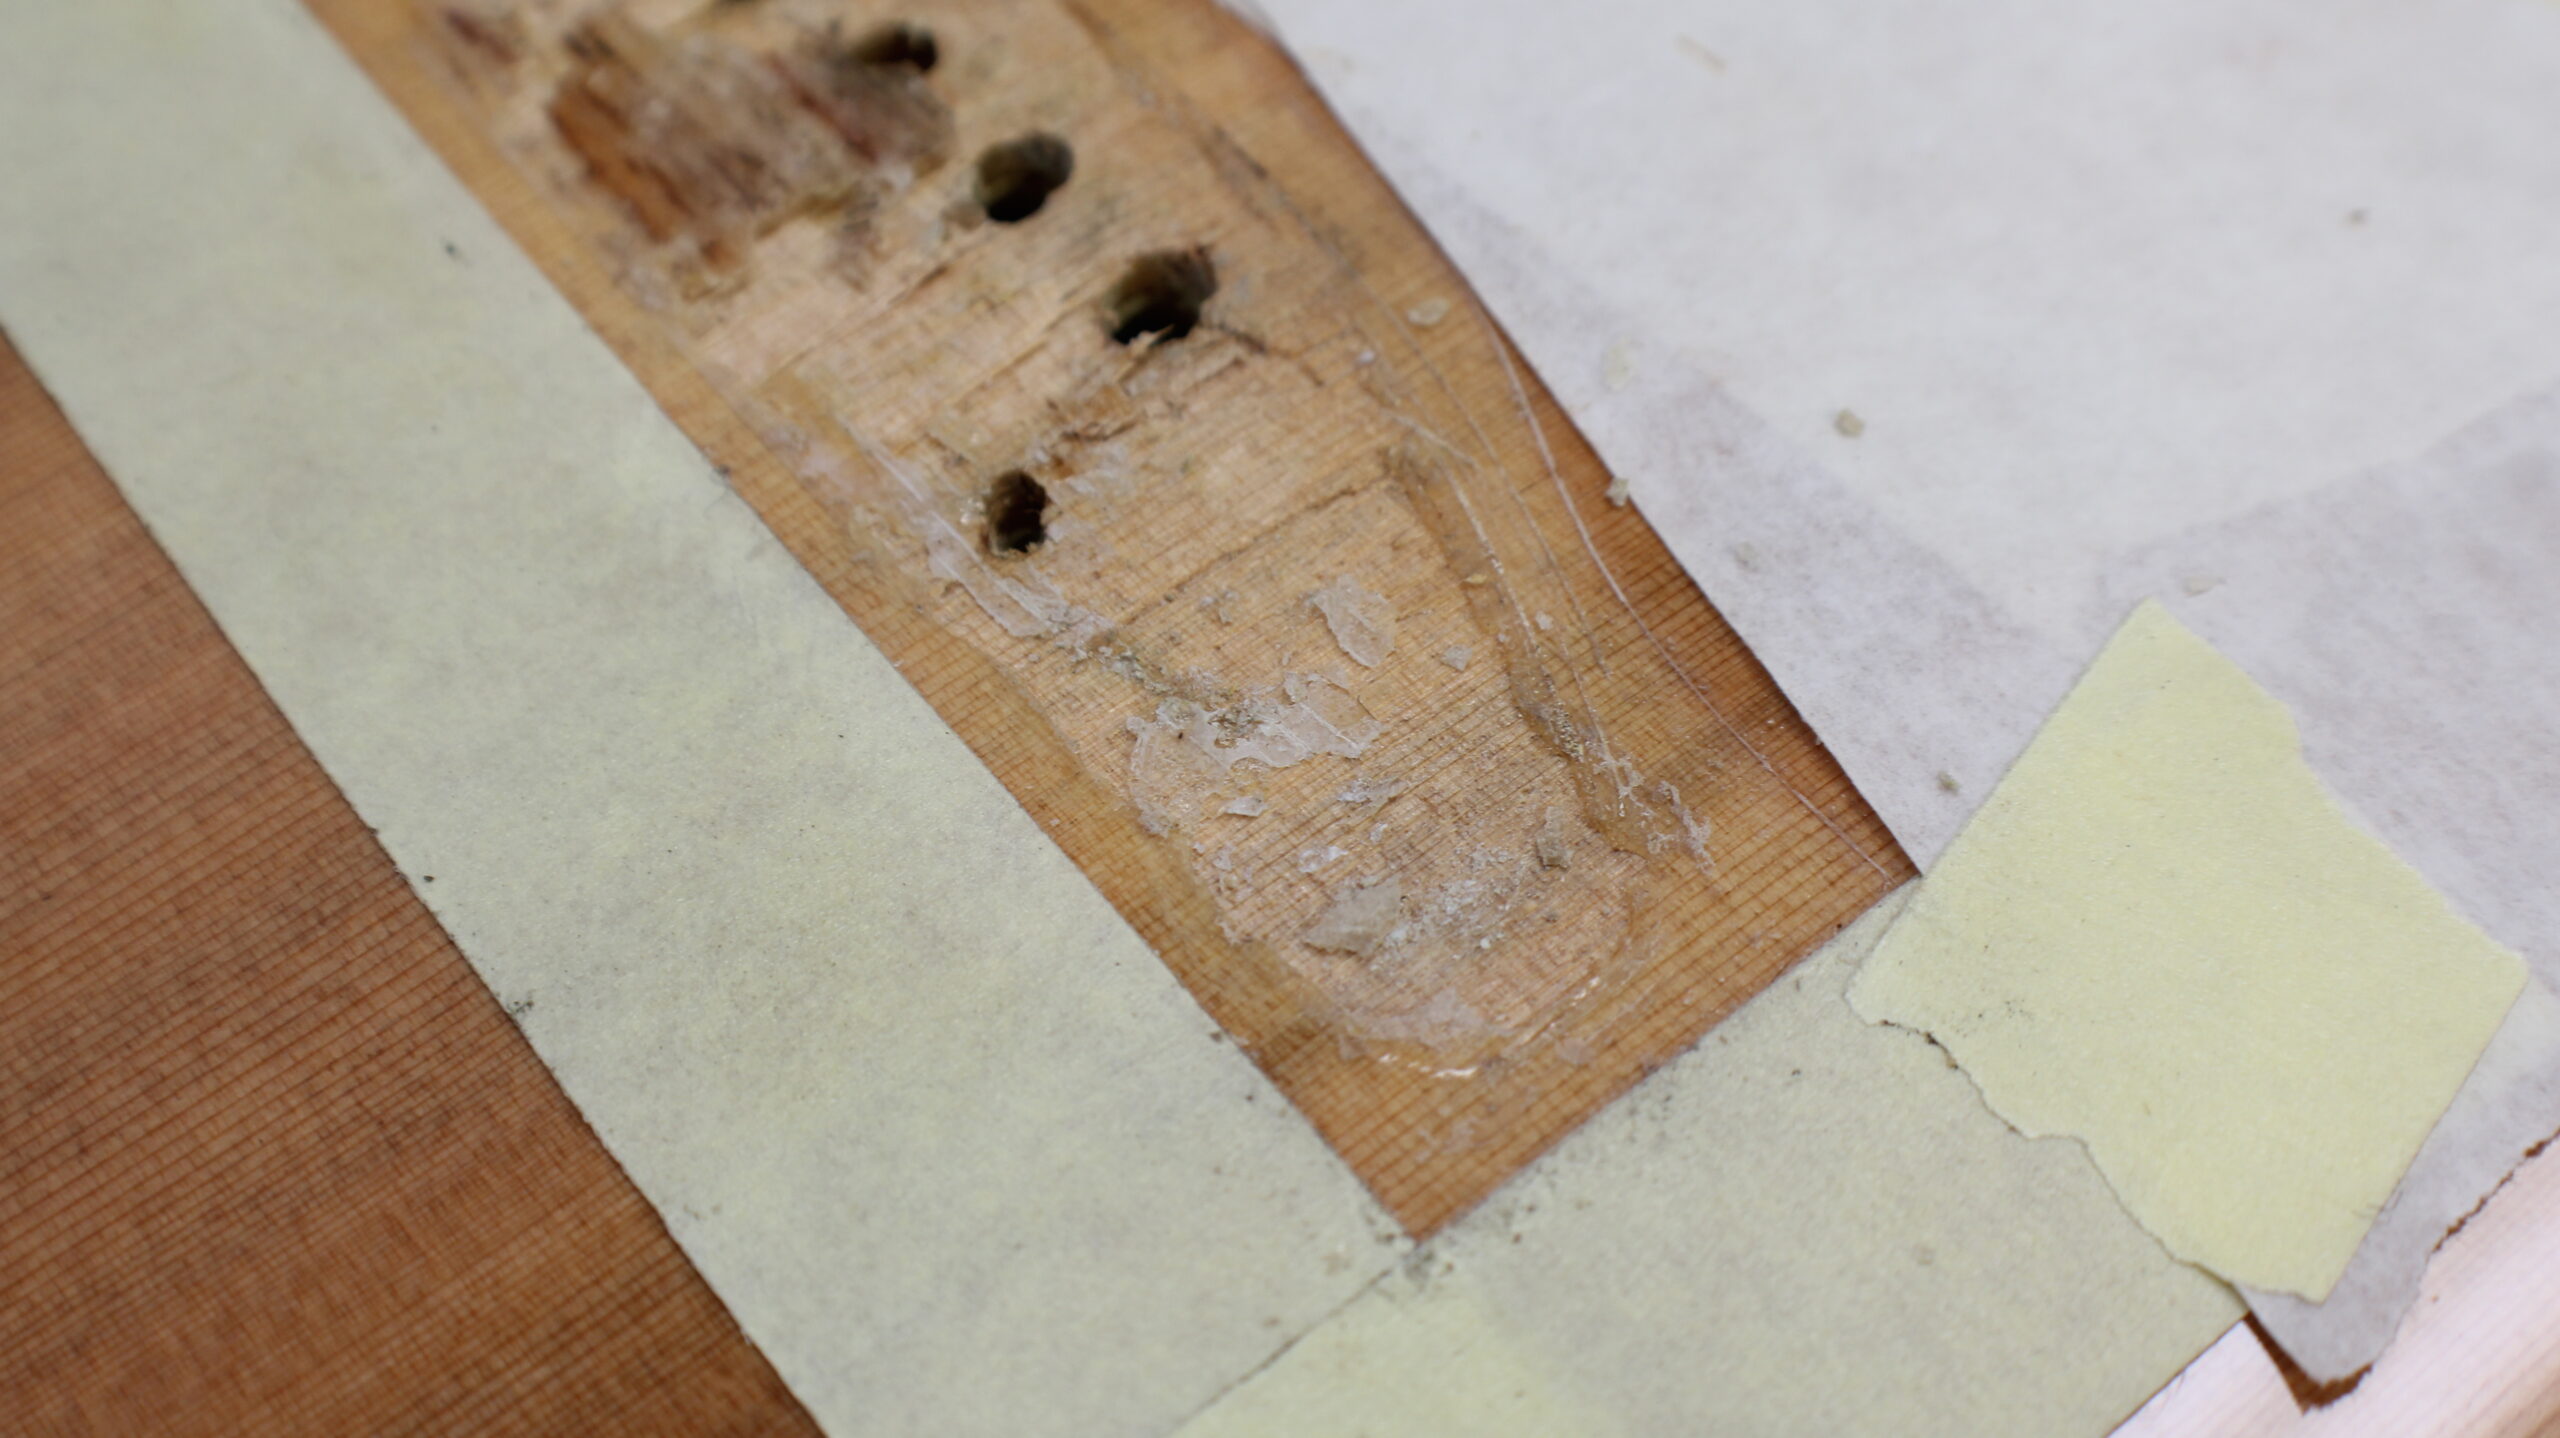
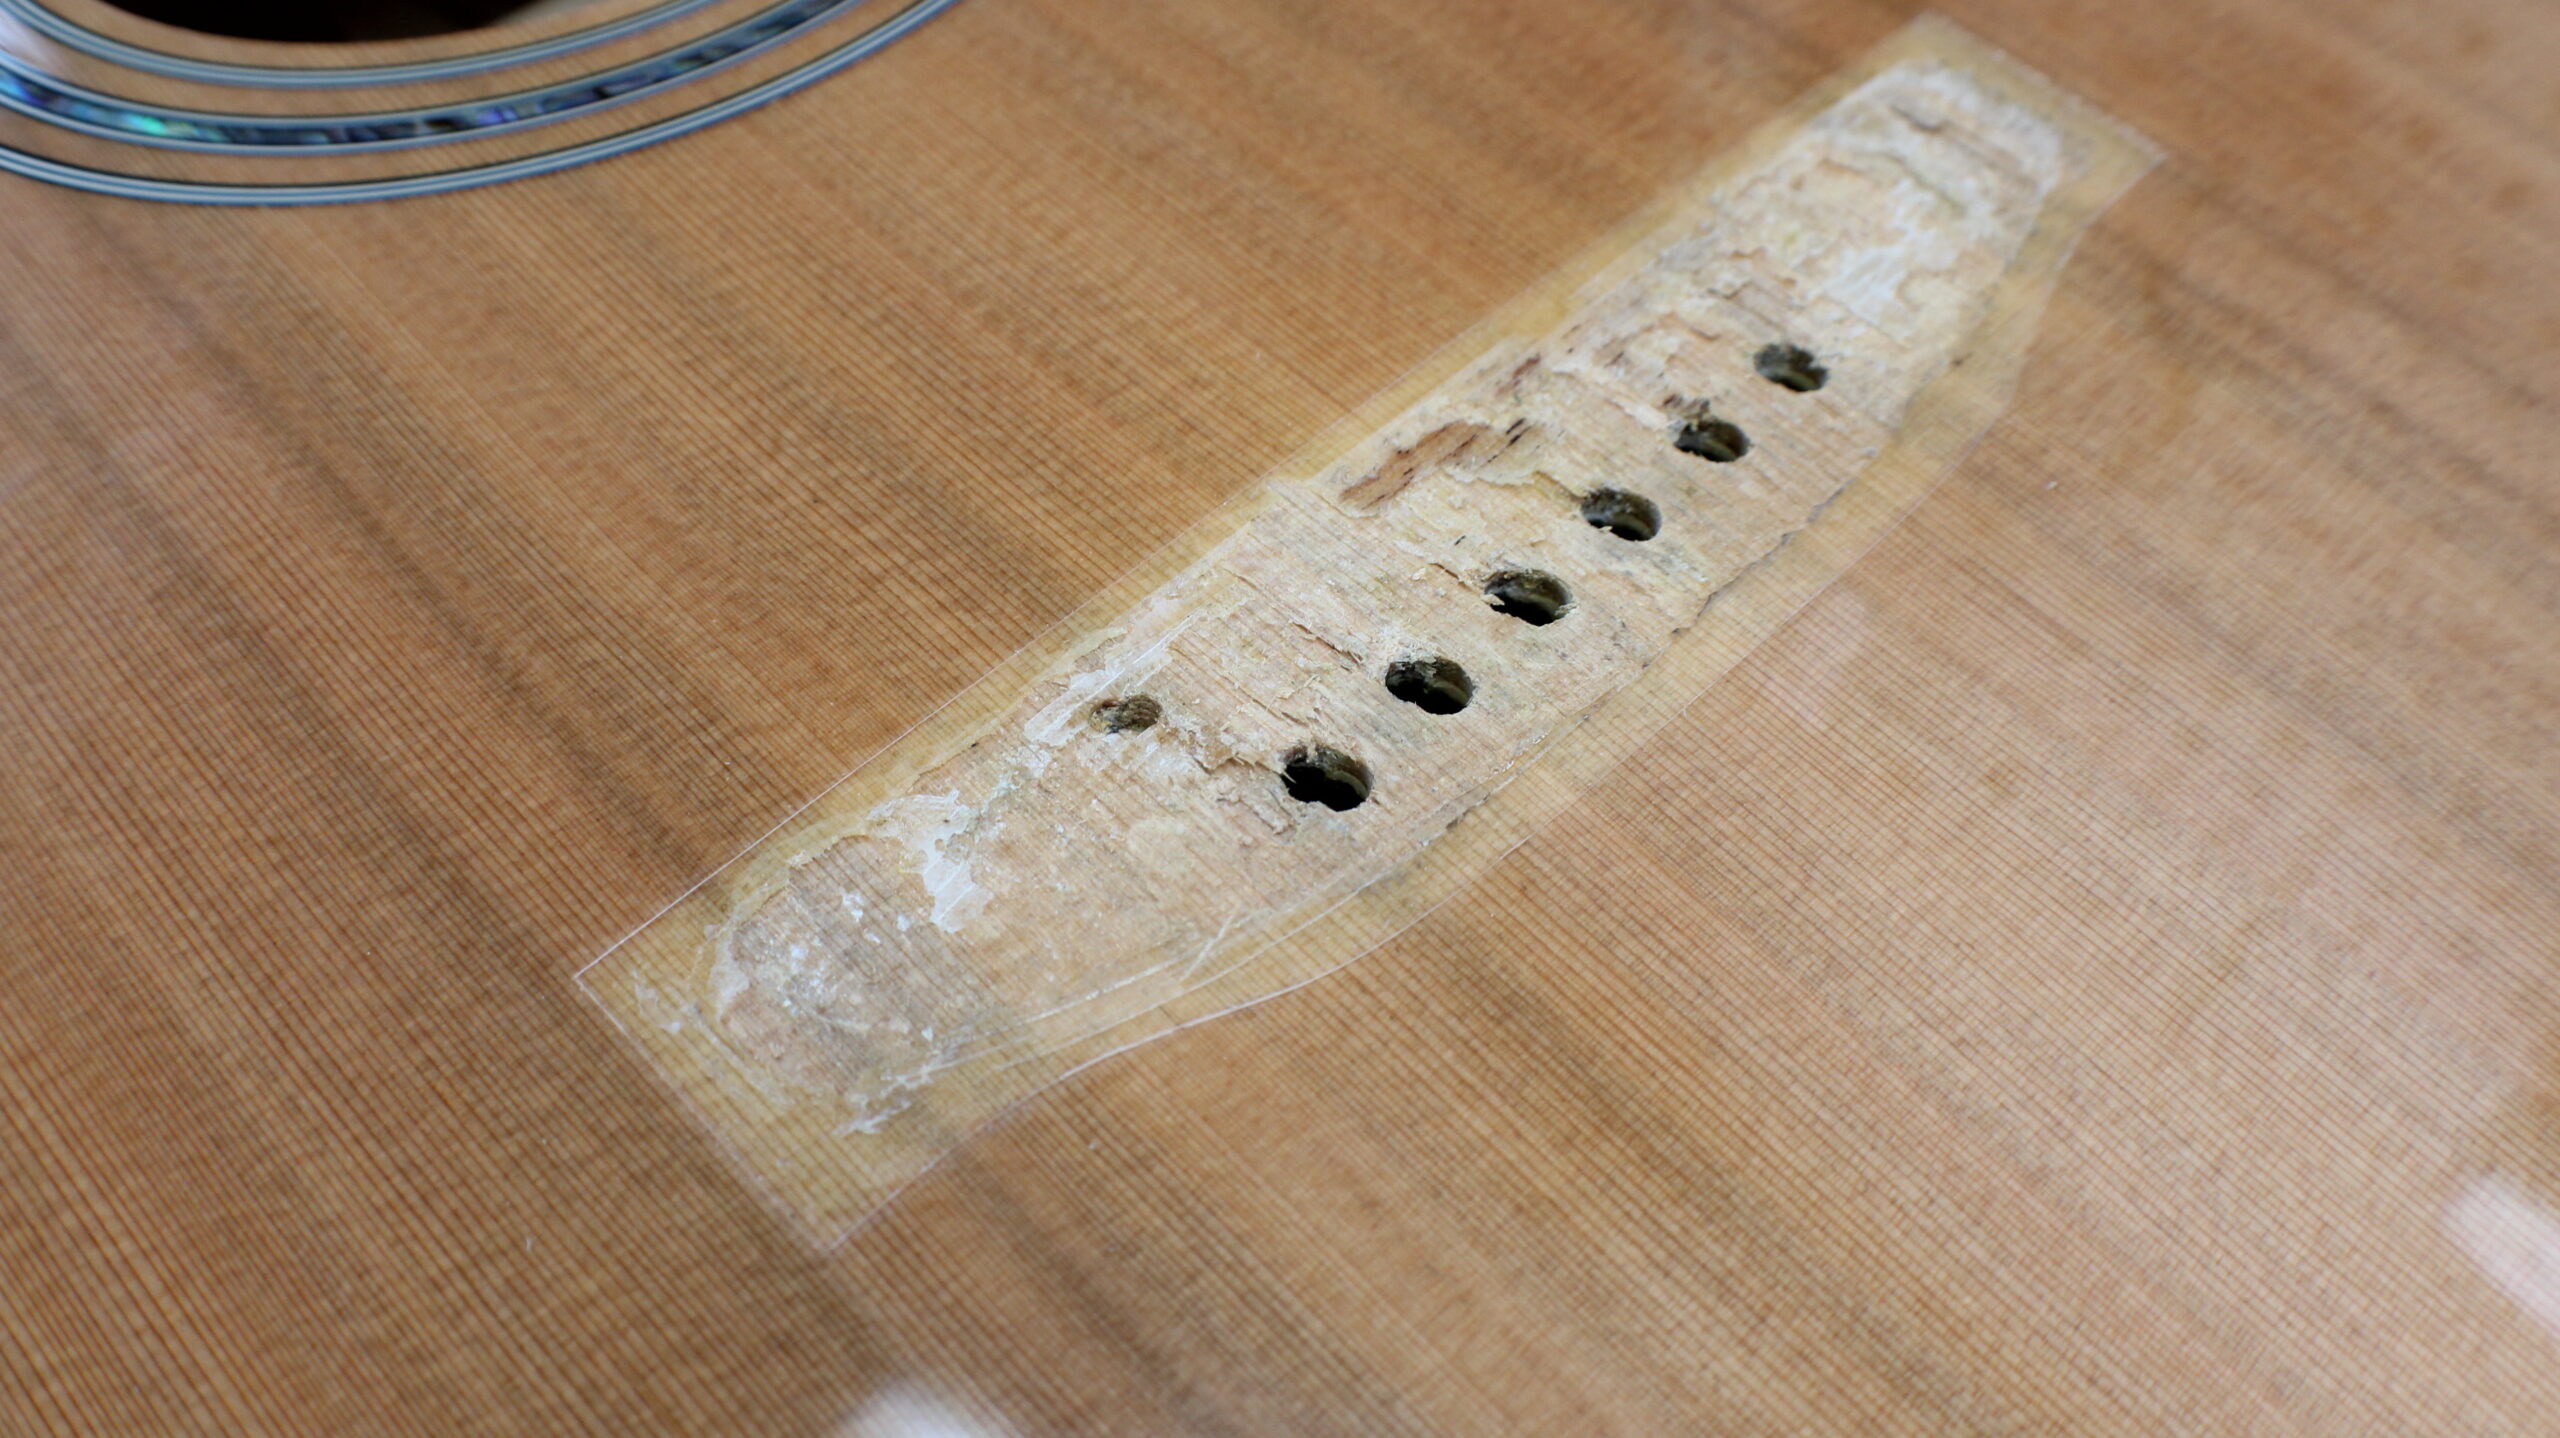
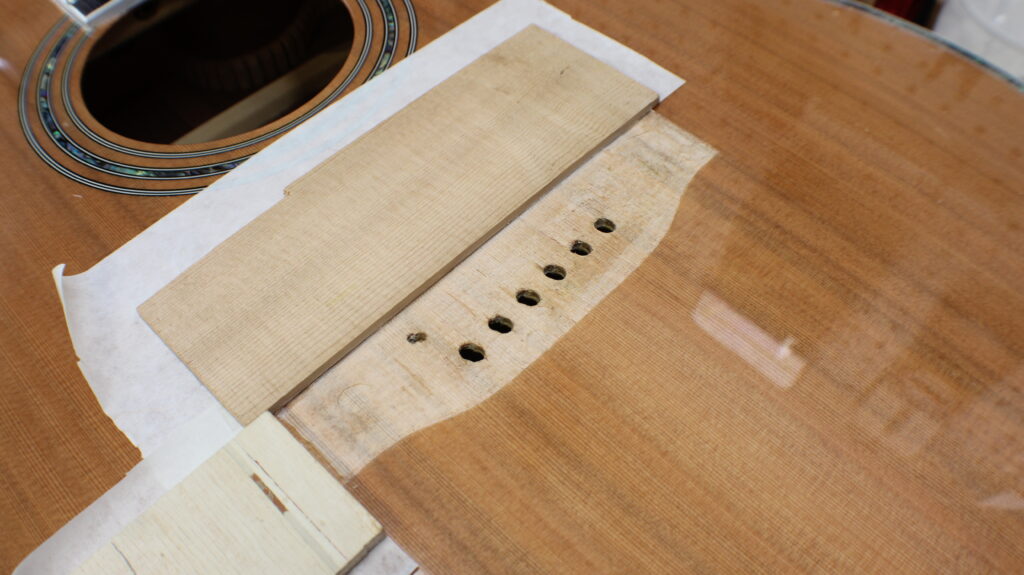
As you can see in the pictures above, there was a significant amount of finish stuck to the bridge and the top, as well as large chunks or wood and adhesive. What you want once everything is all cleaned up is a flat mating surface for the bridge and top, but this combination of improper glue and improper clamping made for a time consuming task.
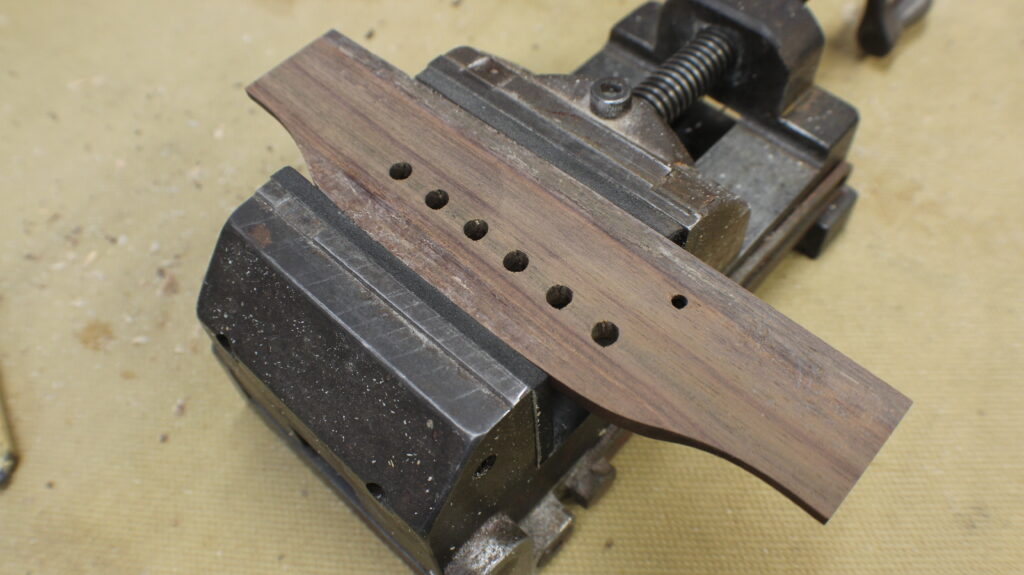
Cleaning up the underside of the bridge was straightforward. Essentially all that was needed was chiseling off the excess wood fibers, glue, and finish, and sanding it flat. The guitar top was tricky and I tried a few different methods to get down to bare wood. Eventually what I settled on was using a Dremel tool with a wide base that would allow me to cut through the majority of the material. I then cleaned up the perimeter with a chisel and flattened the top with a variety of razorblades and scrapers.
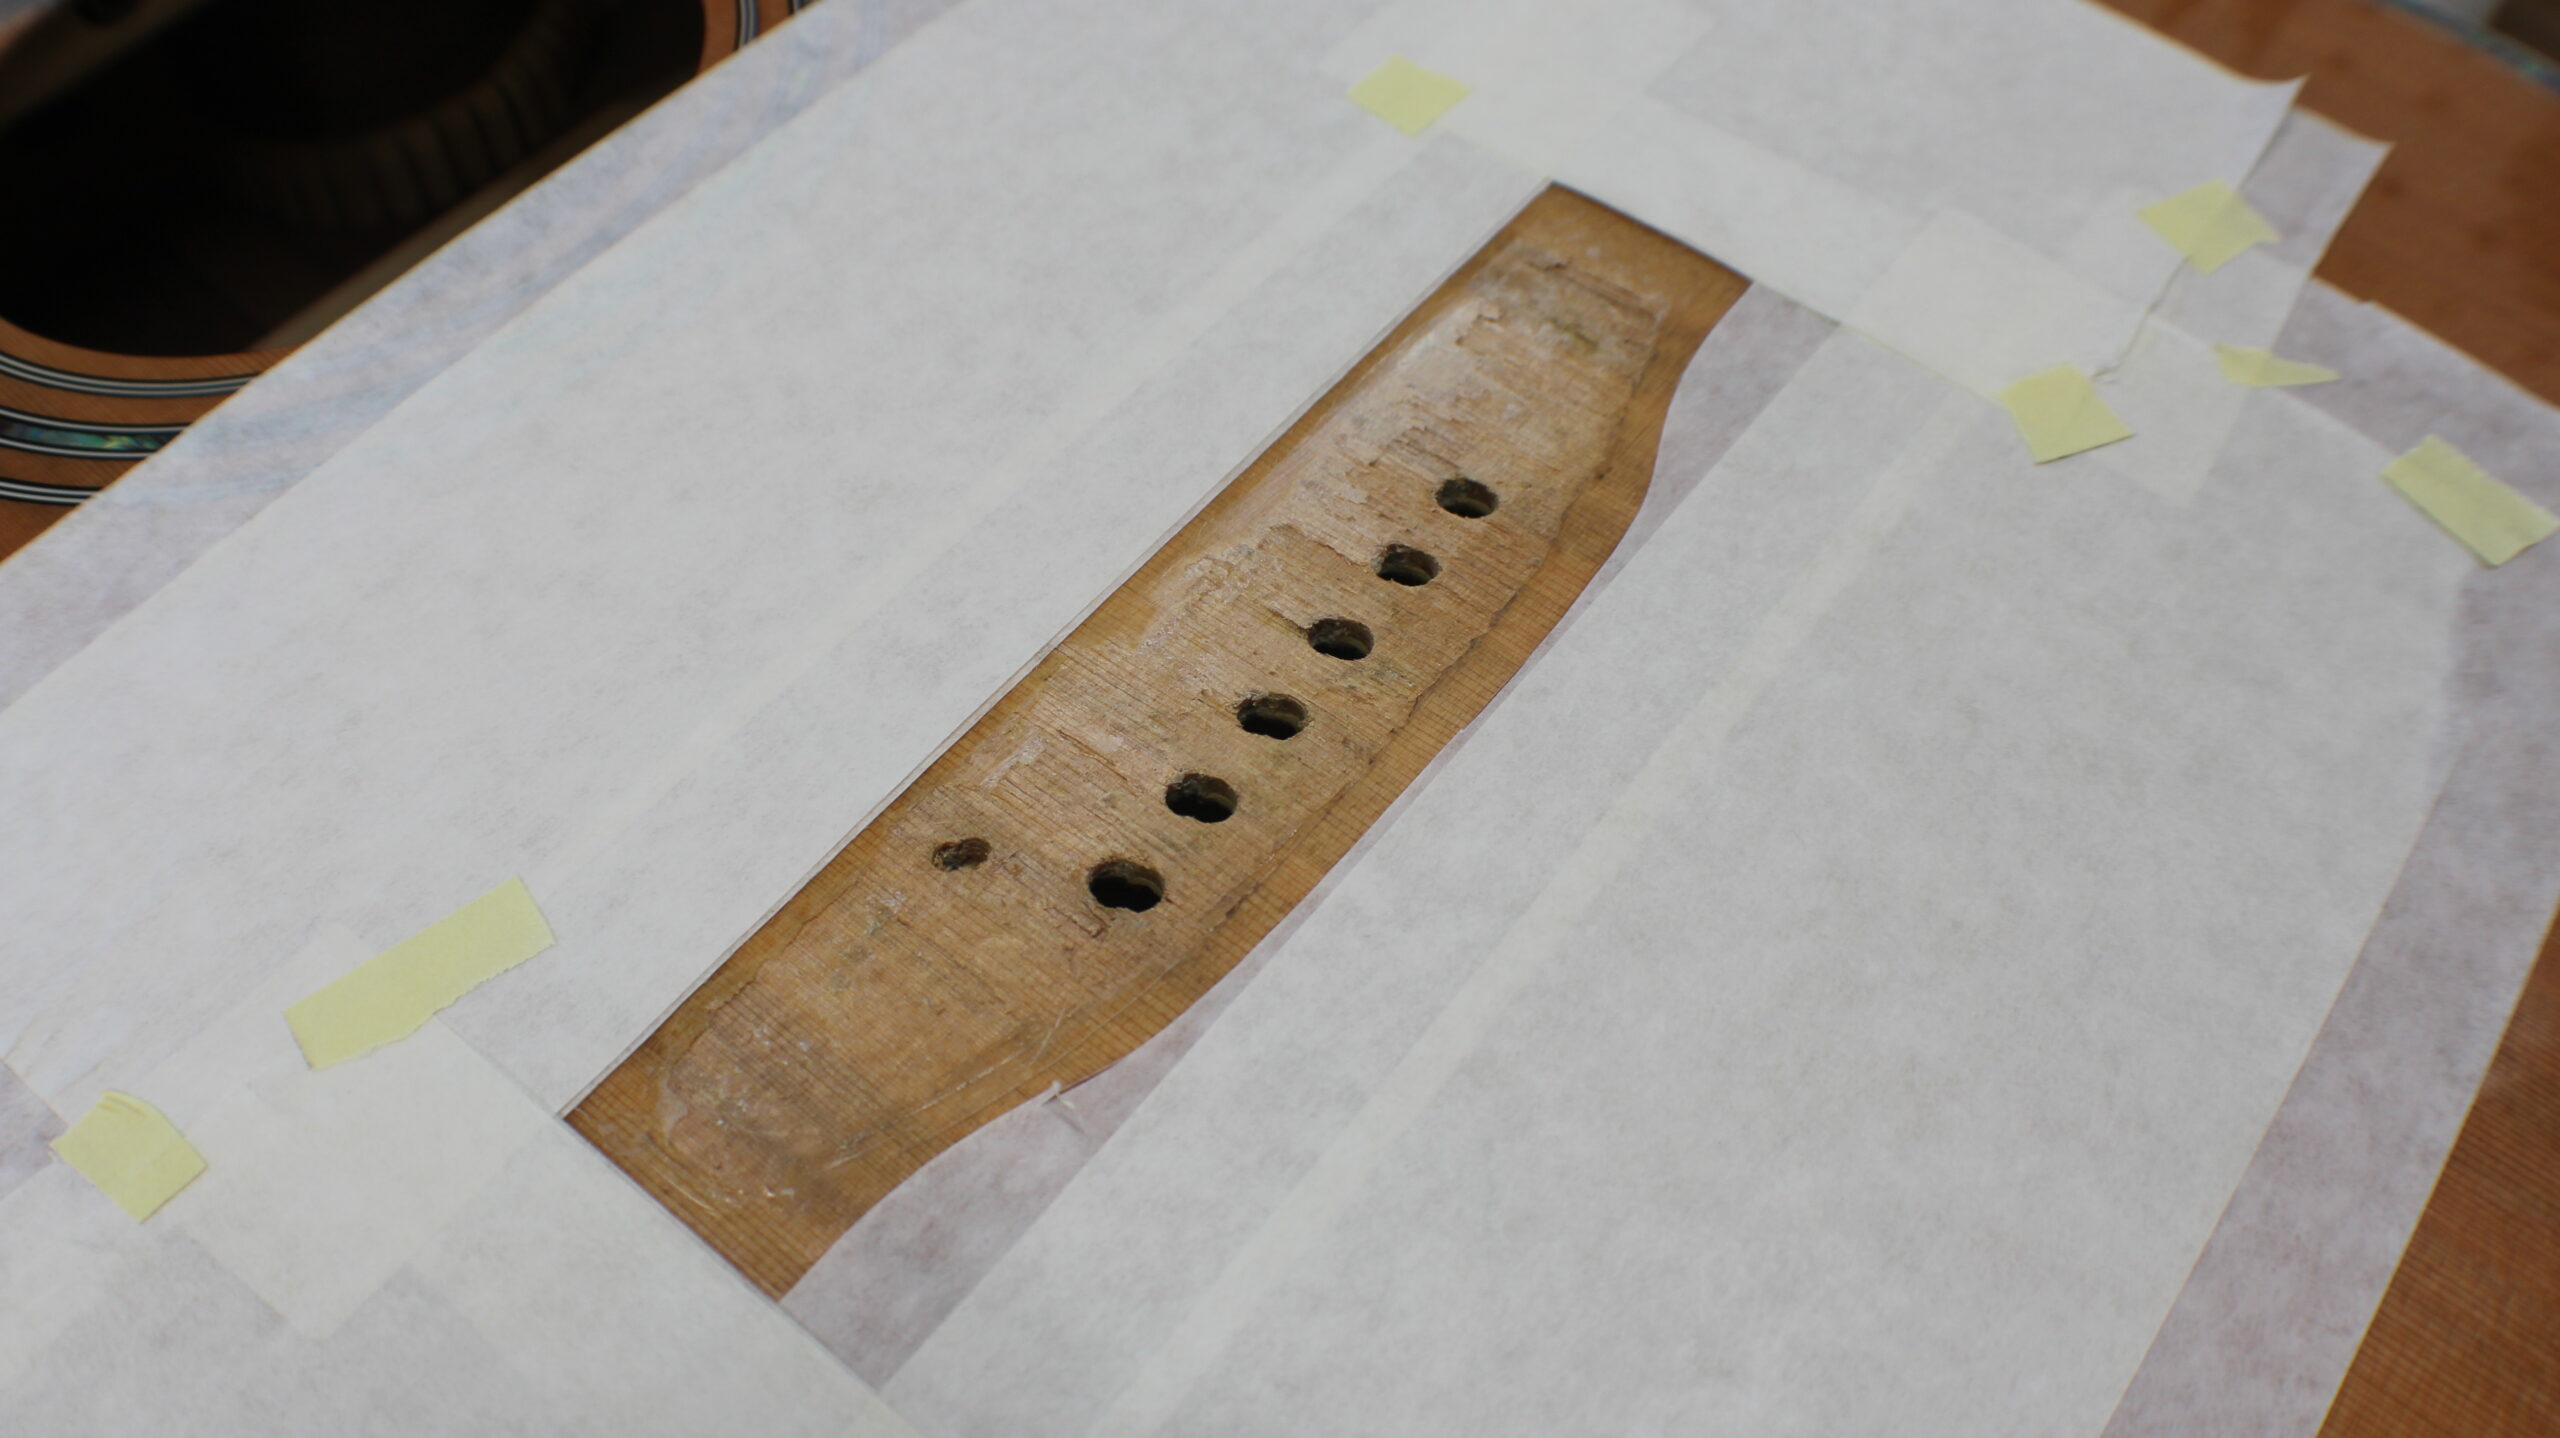
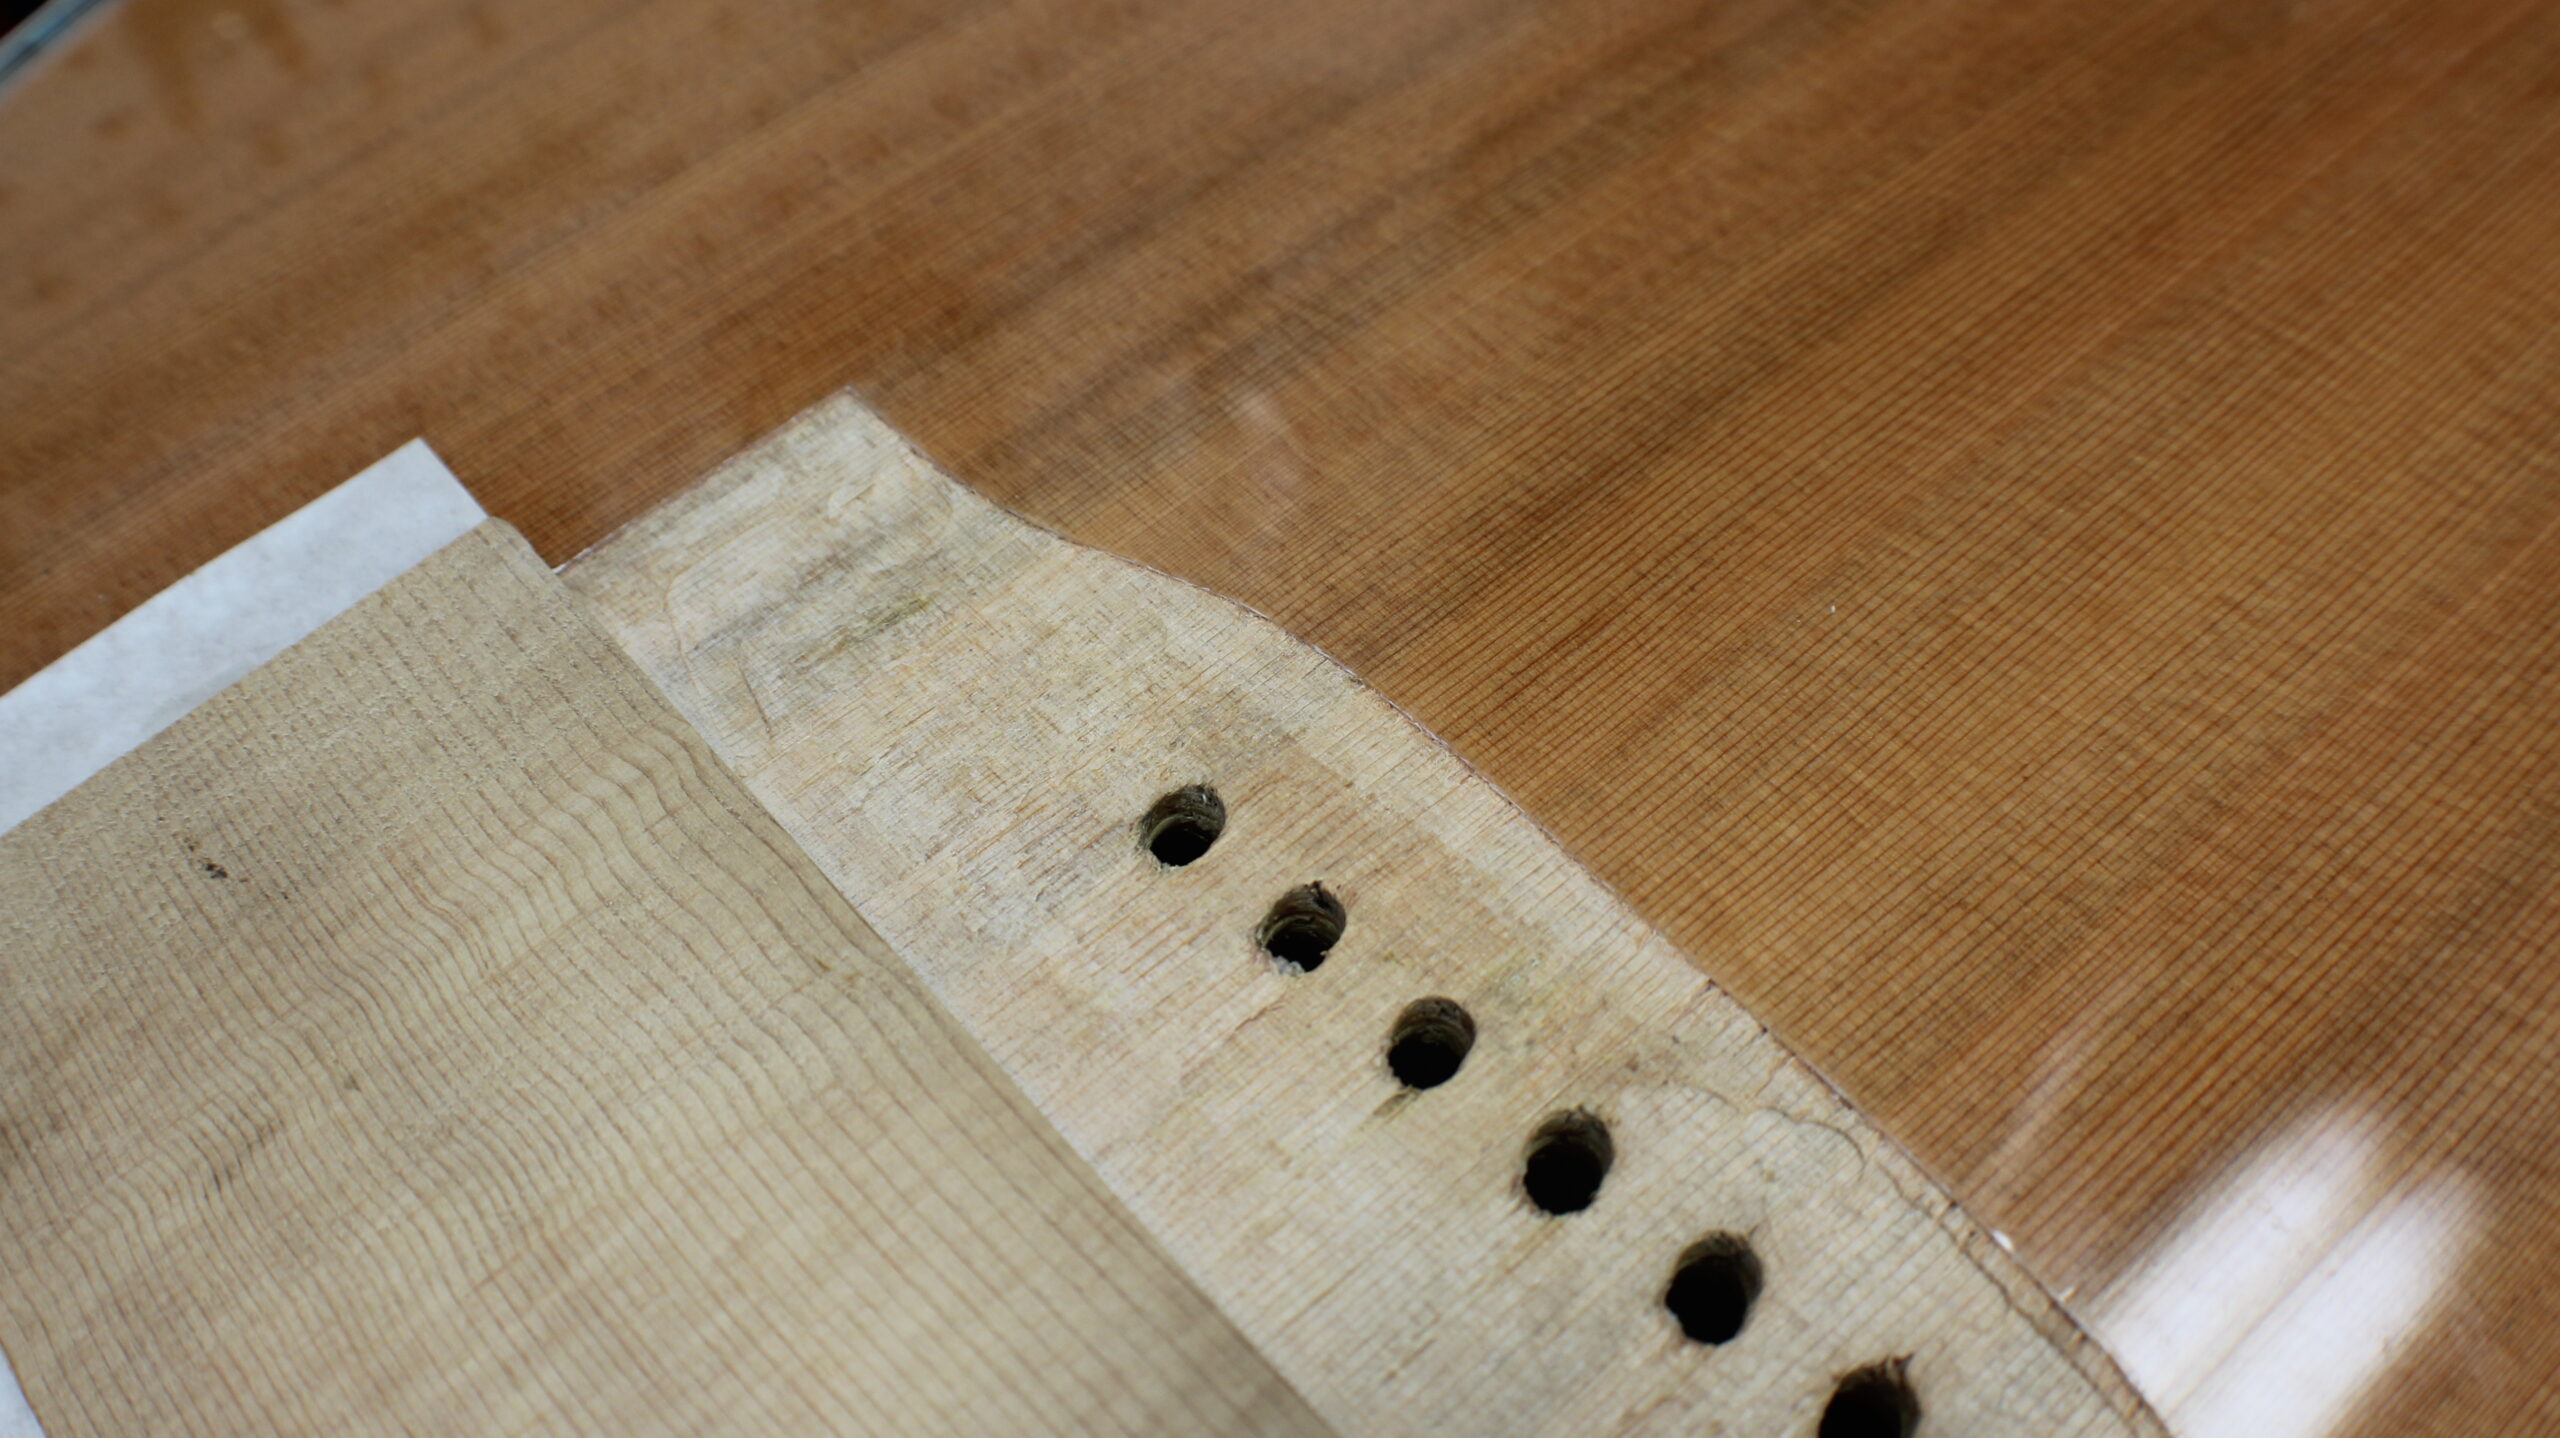
From here the task was to do a dry run with acoustic guitar bridge soundhole clamps, cauls and a mirror inside the guitar cavity to properly glue the bridge to the top. Once again, preparation was key here. I didn’t want to be scrambling so I made sure the process was as seamless as possible before applying glue. This proved to work out well and I was able to do this successfully.
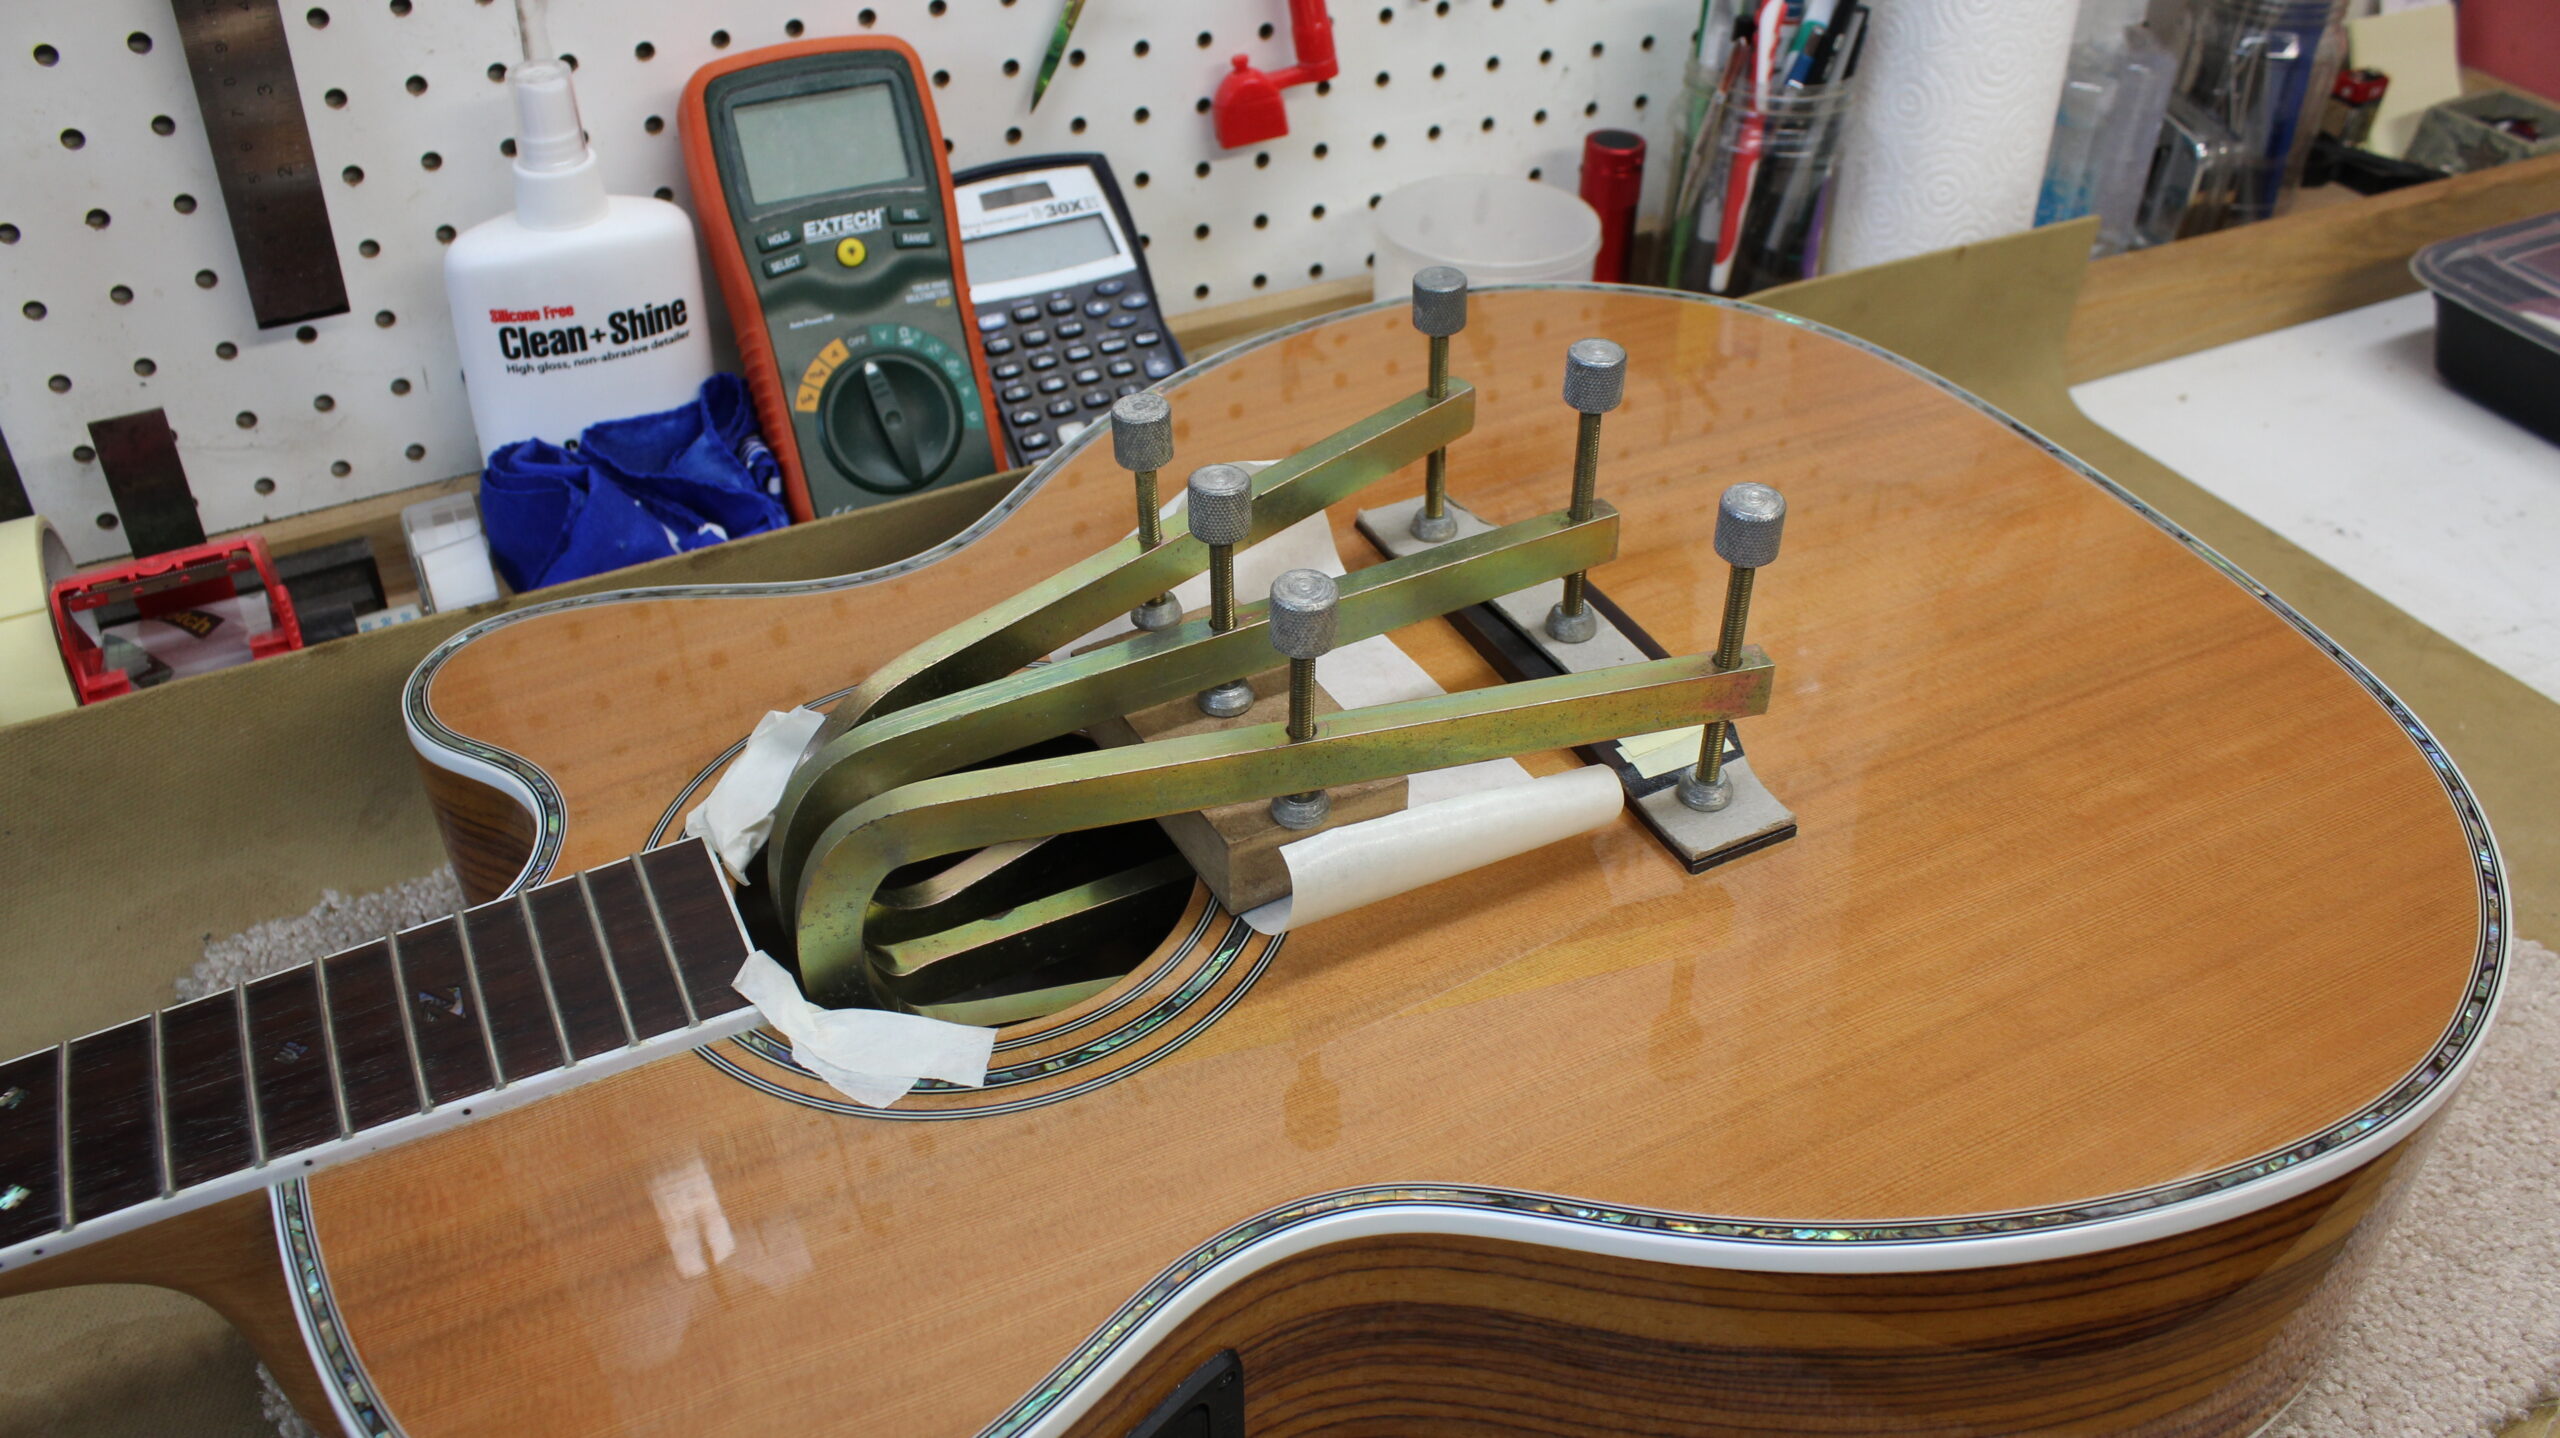
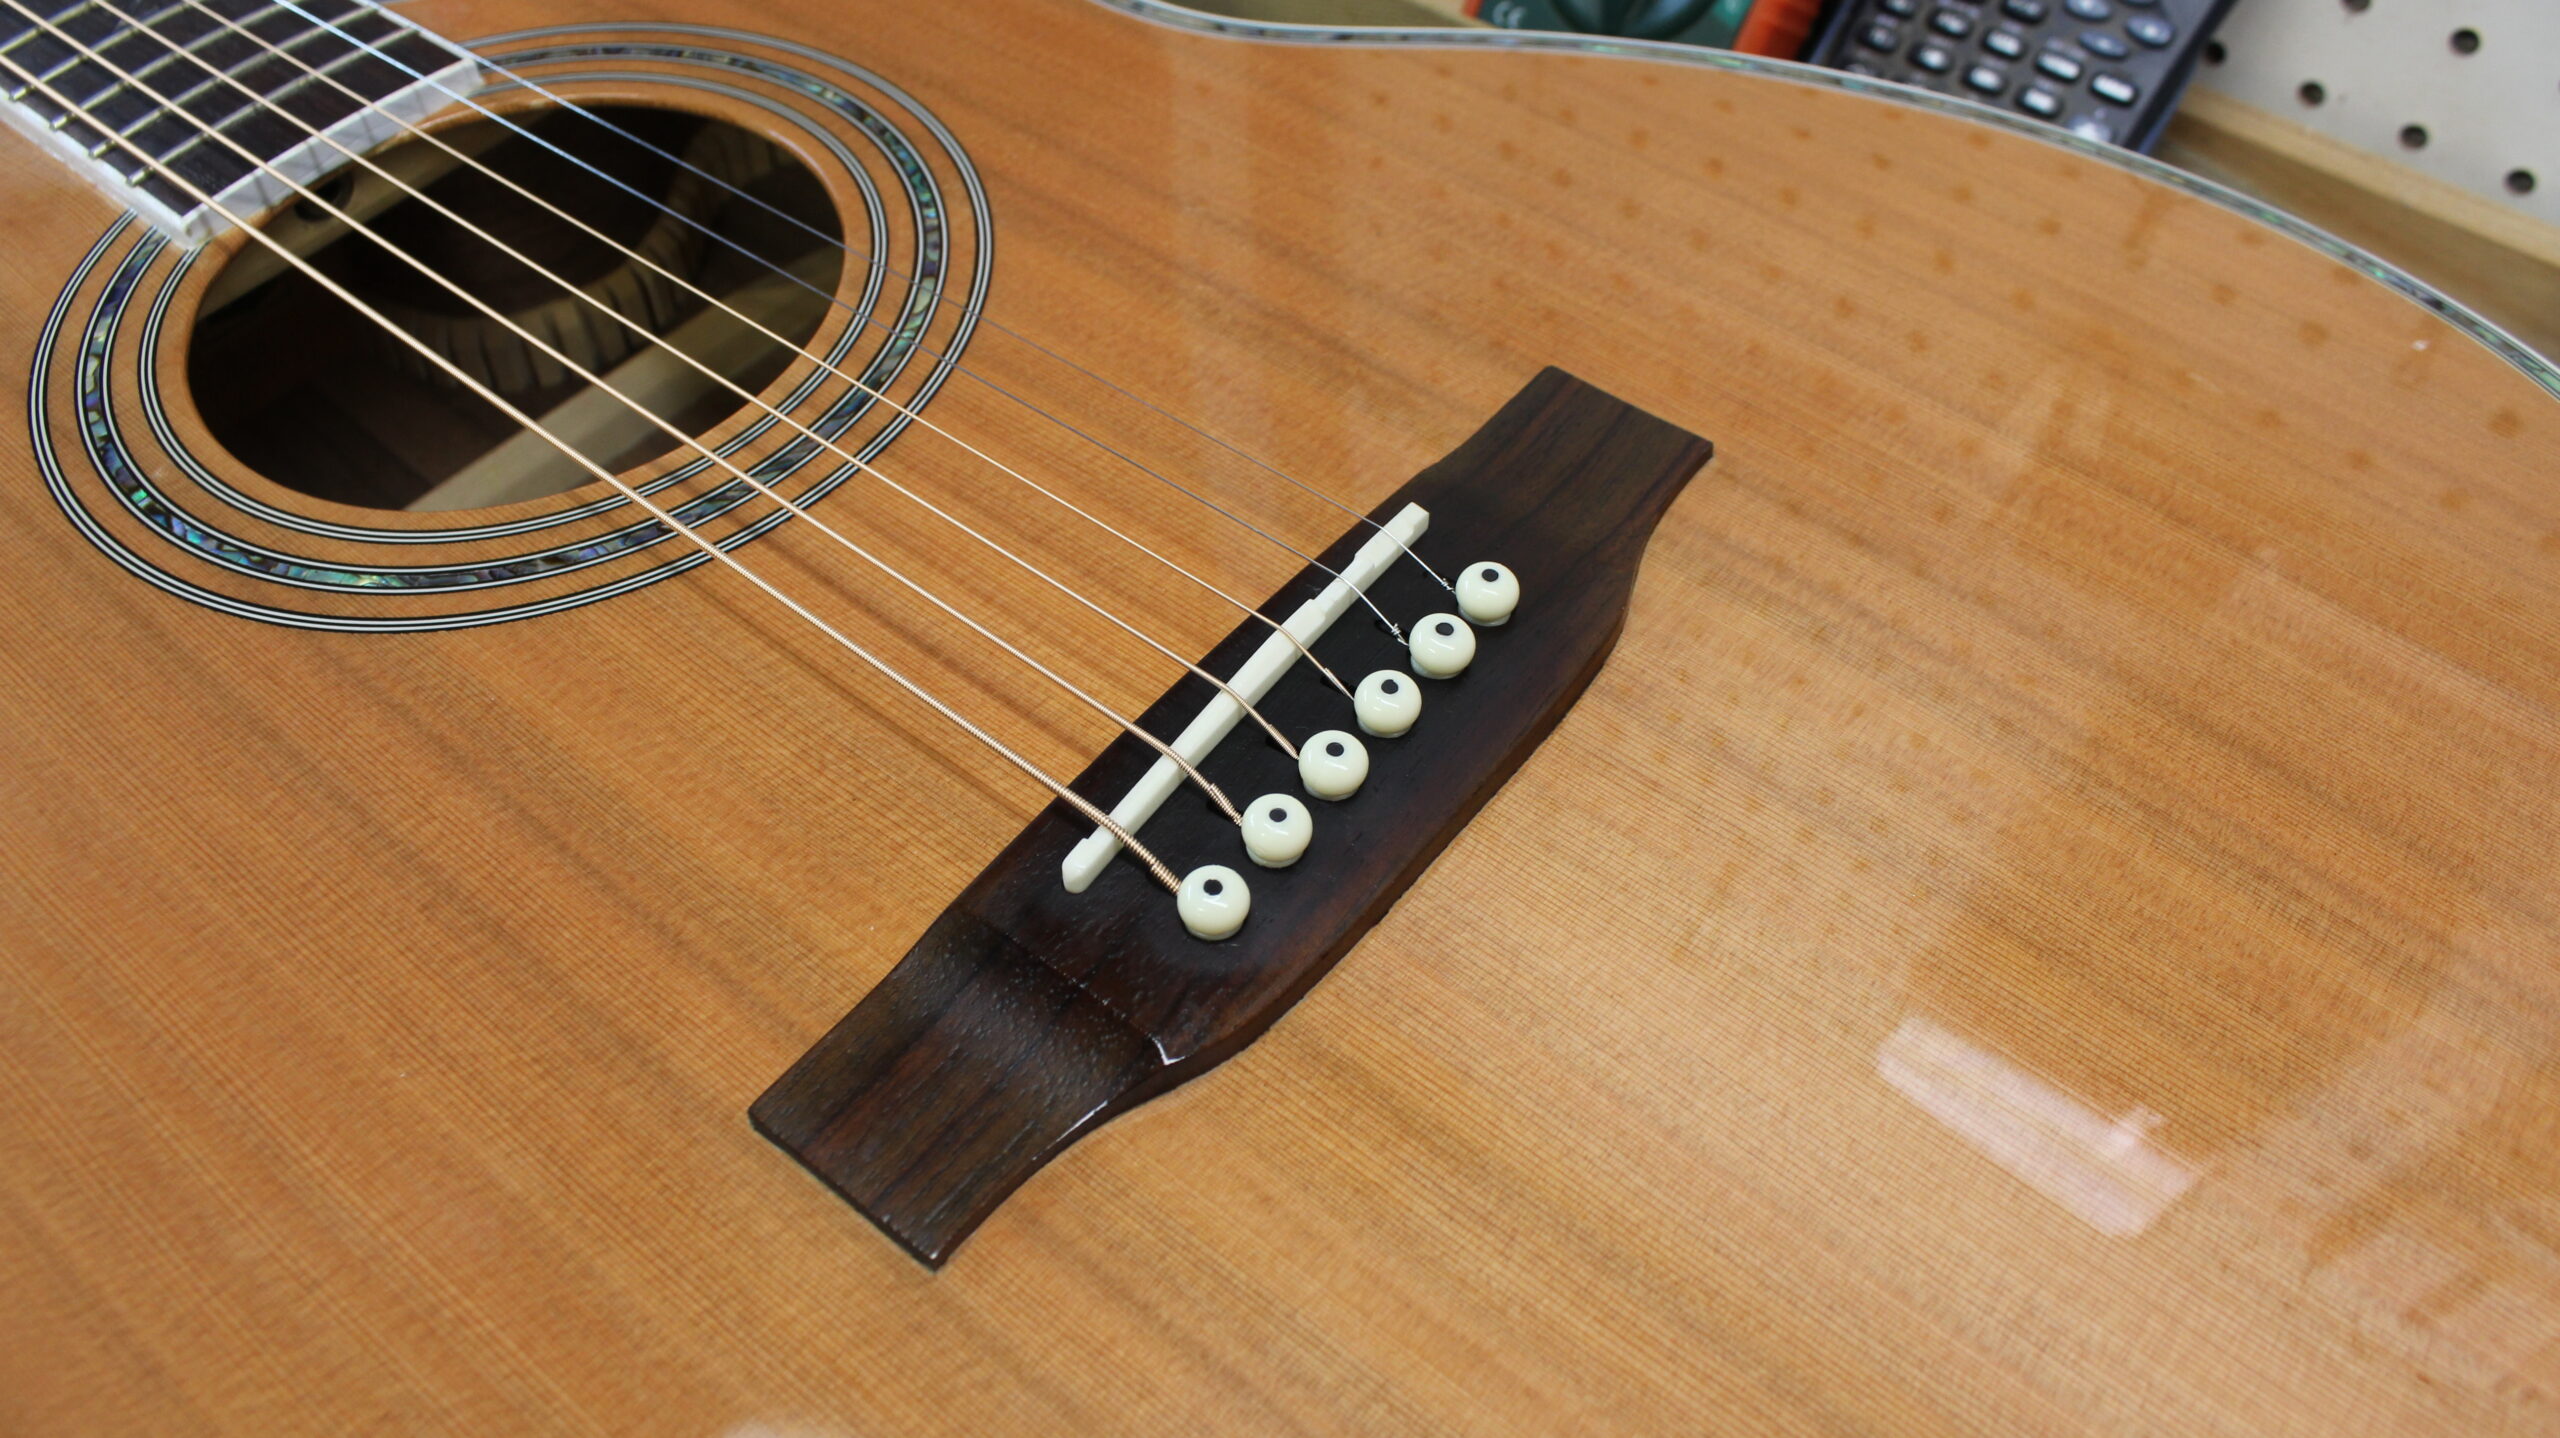
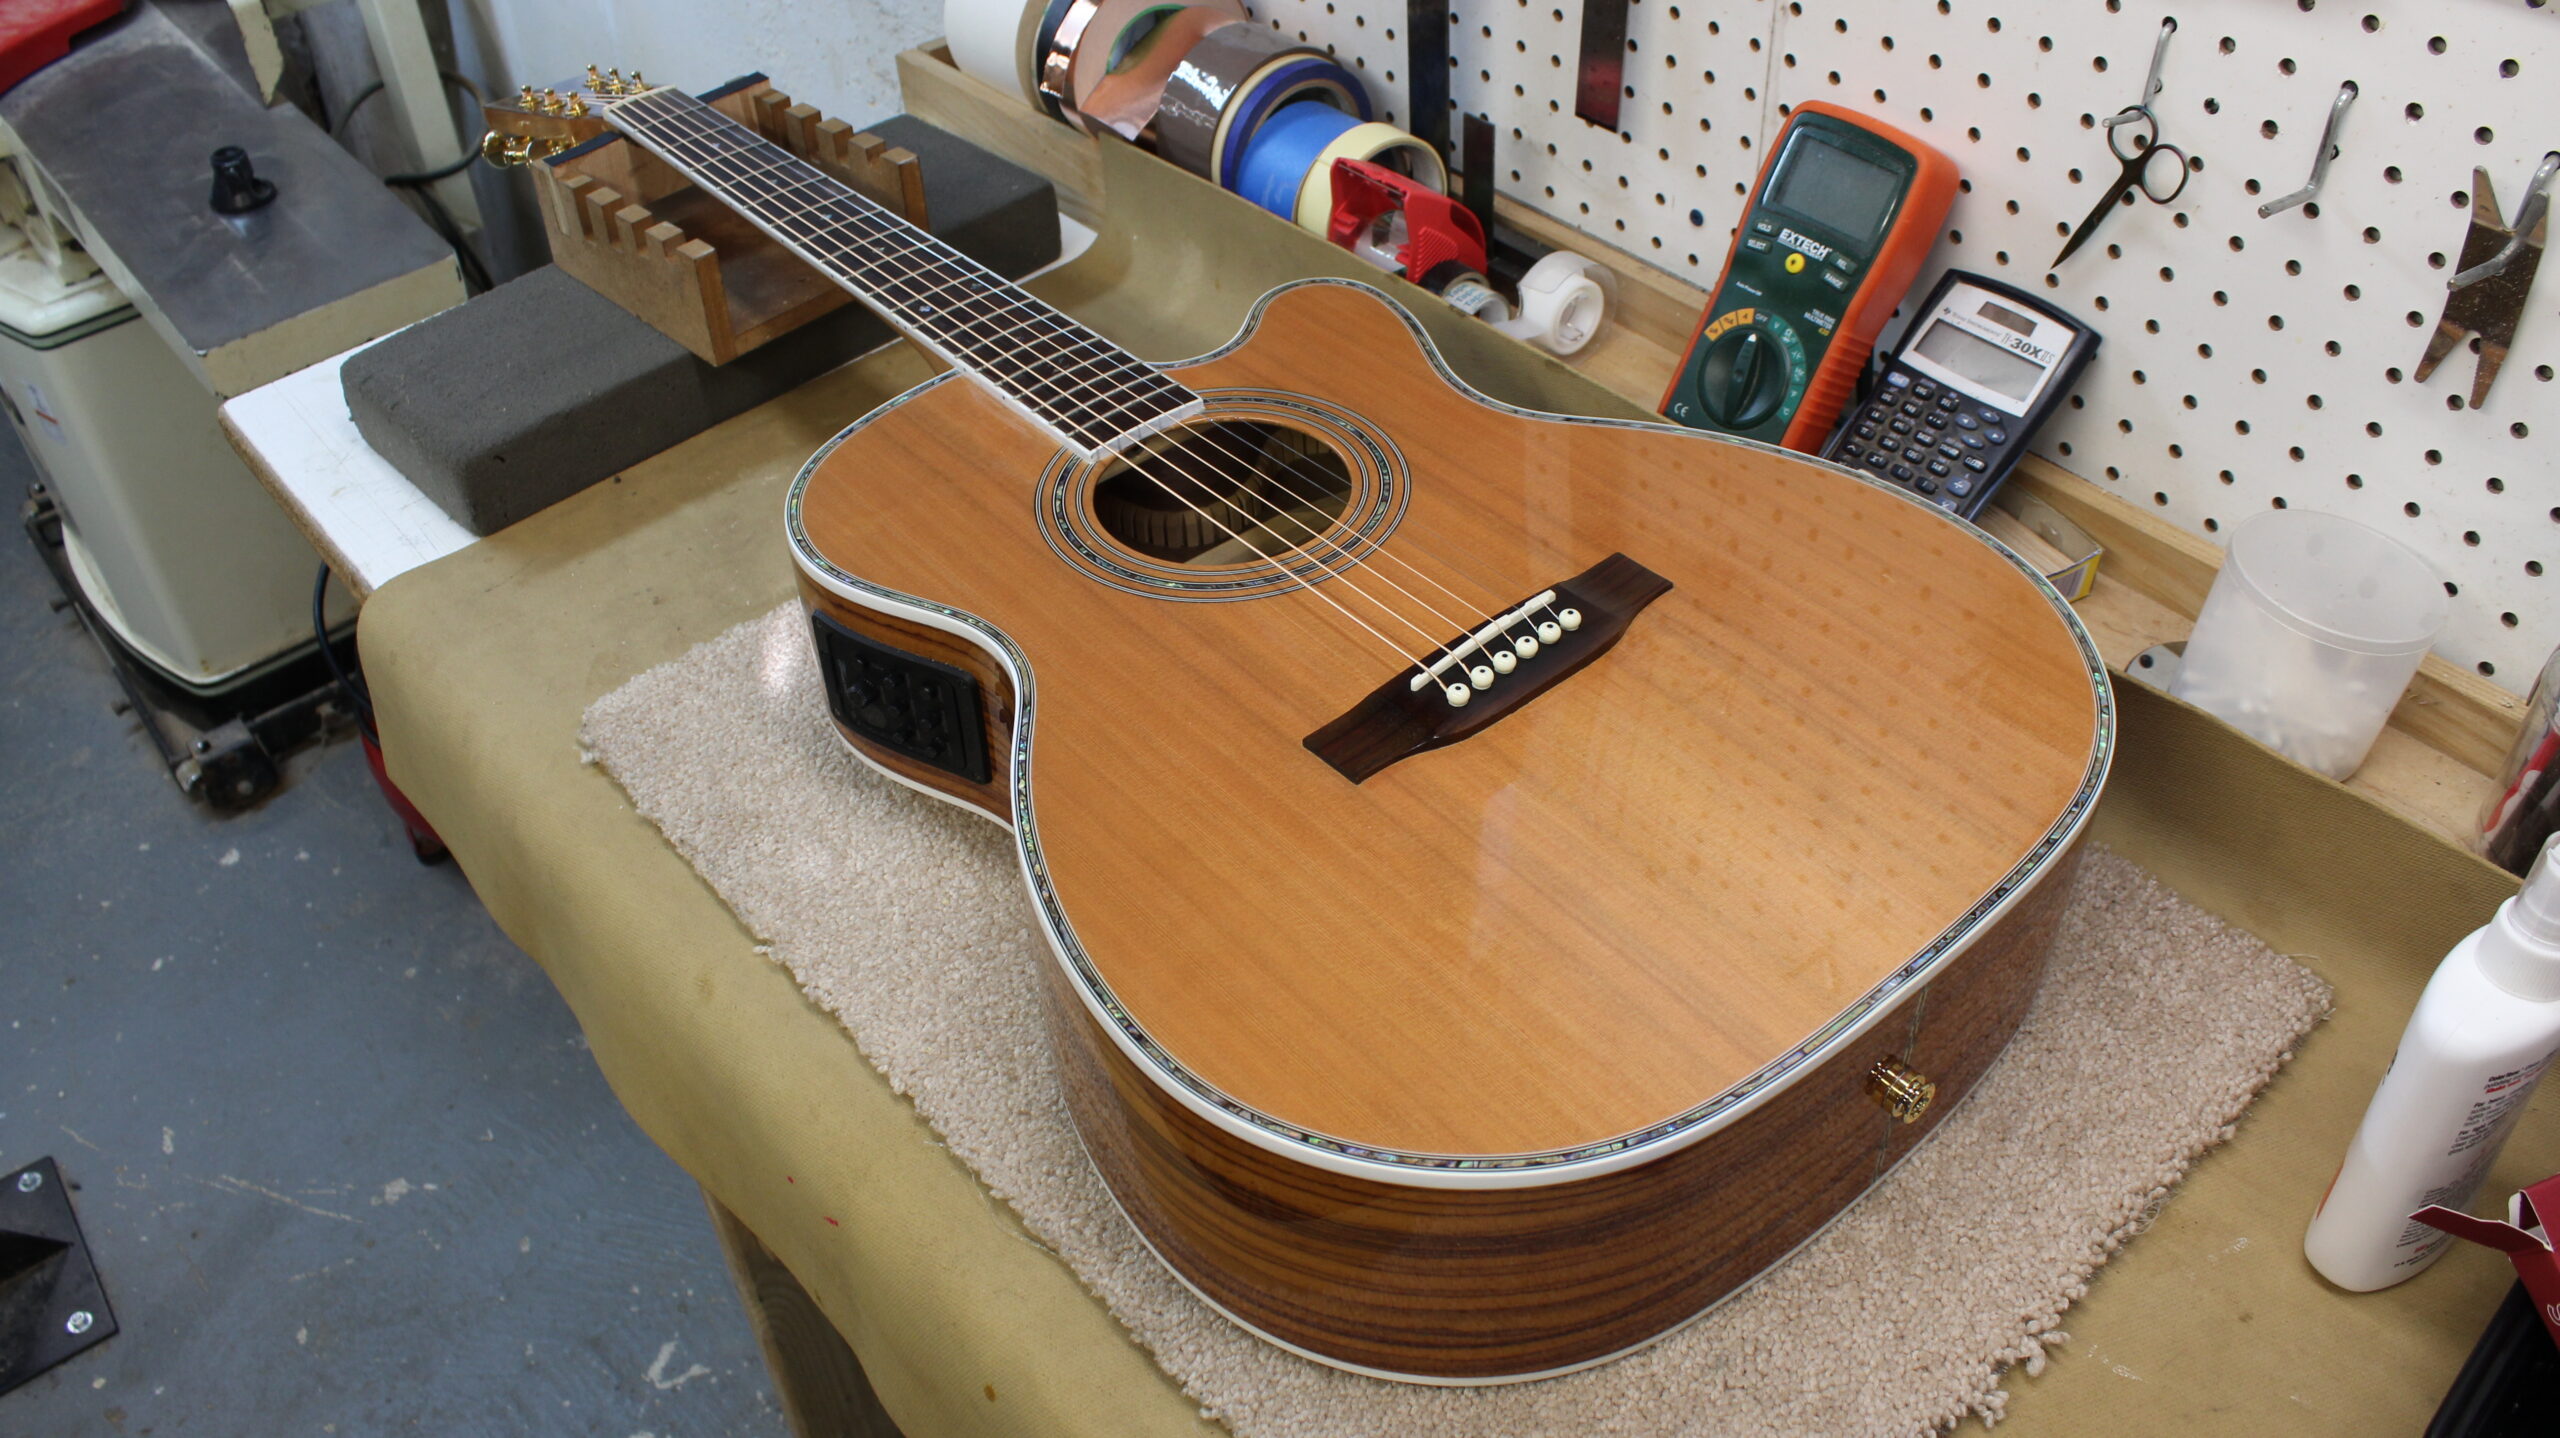
I waited about 36 hours before removing the bridge clamps and putting new guitar strings on. I could’ve done it in 24 hours but since this was my first time with this job I wanted to be extra careful, even if it wasn’t fully necessary. Overall I was quite pleased with the results when I strung it up. After a setup, the guitar was playing well once again. As I said initially, this was a learning experience for me and there are a few ways that I can improve on my process moving forward. I also want to give a shout out to The Looth Group for providing guidance on this acoustic guitar bridge reglue!
Anyway, that’s it for now! If you’re in Broome County N.Y. or the surrounding areas and need guitar repairs, feel free to contact me here on my website by following this link to my Contact page where you can call me, email me or ask me questions. Thank you!
-David